
SPONSOR ALERT!
This is a guide to help you complete a Tall tale in Sea of Thieves.
Continue reading only if you're sure!
Sea Of Thieves: SEABOUND SOUL TALL TALE GUIDE
I don't intend to completely spoil the story for you, but everything is connected to the story "La vendetta della Morningstar".
I therefore recommend that you complete that story first, then tackle this one.
It all begins at Shipwreck Bay, that annoying island full of wrecks and rocks you’ll definitely remember.
Direction? M-10 (Central Area of the map)
Look immediately for the only remaining piece with lights on in the central area of the island.
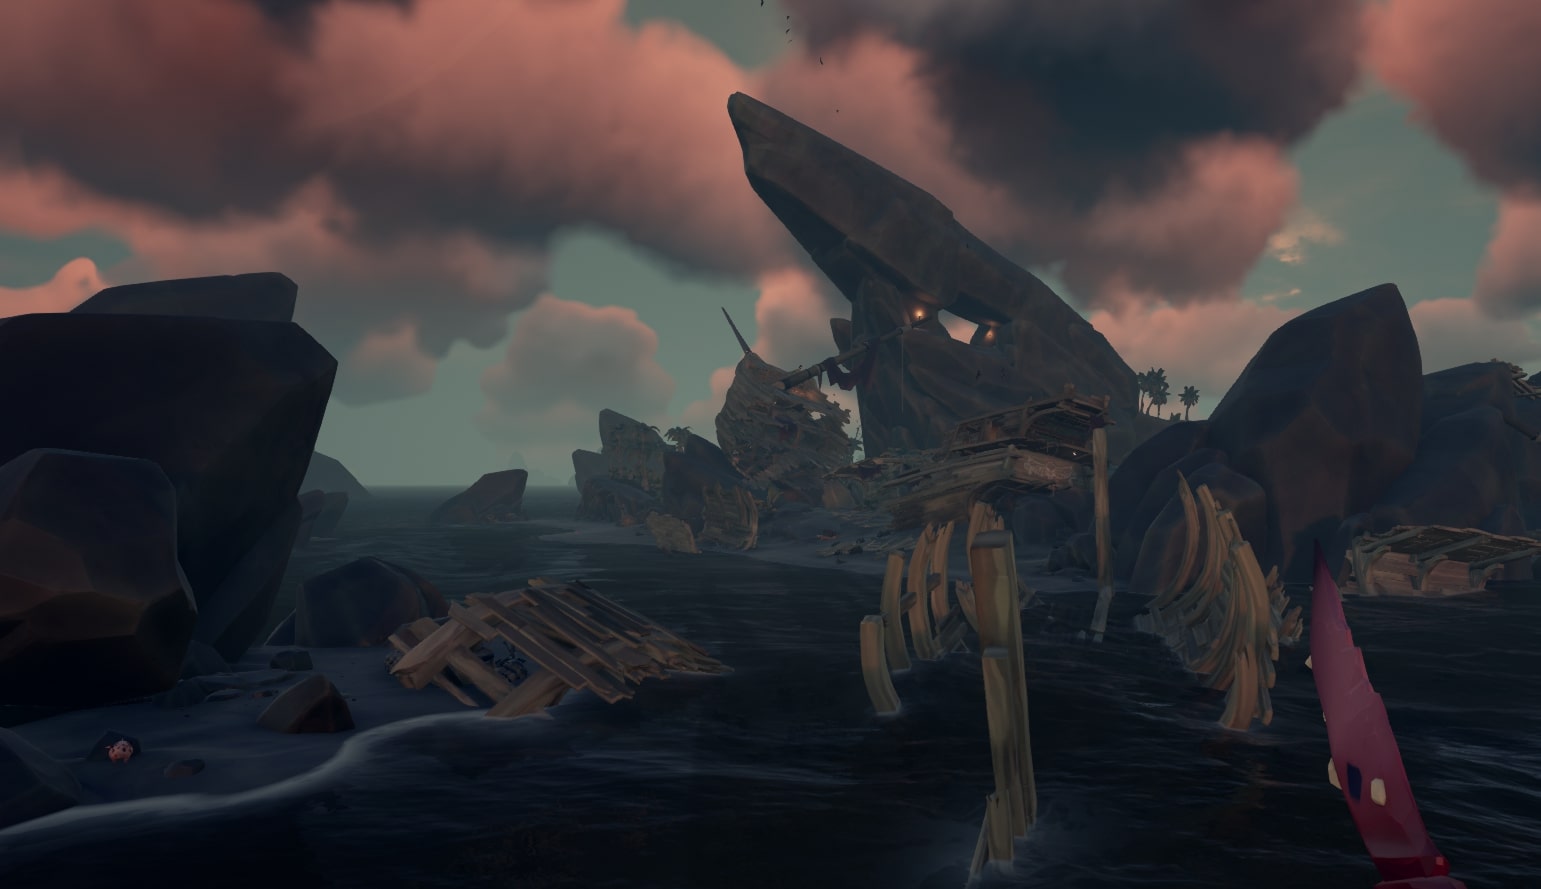
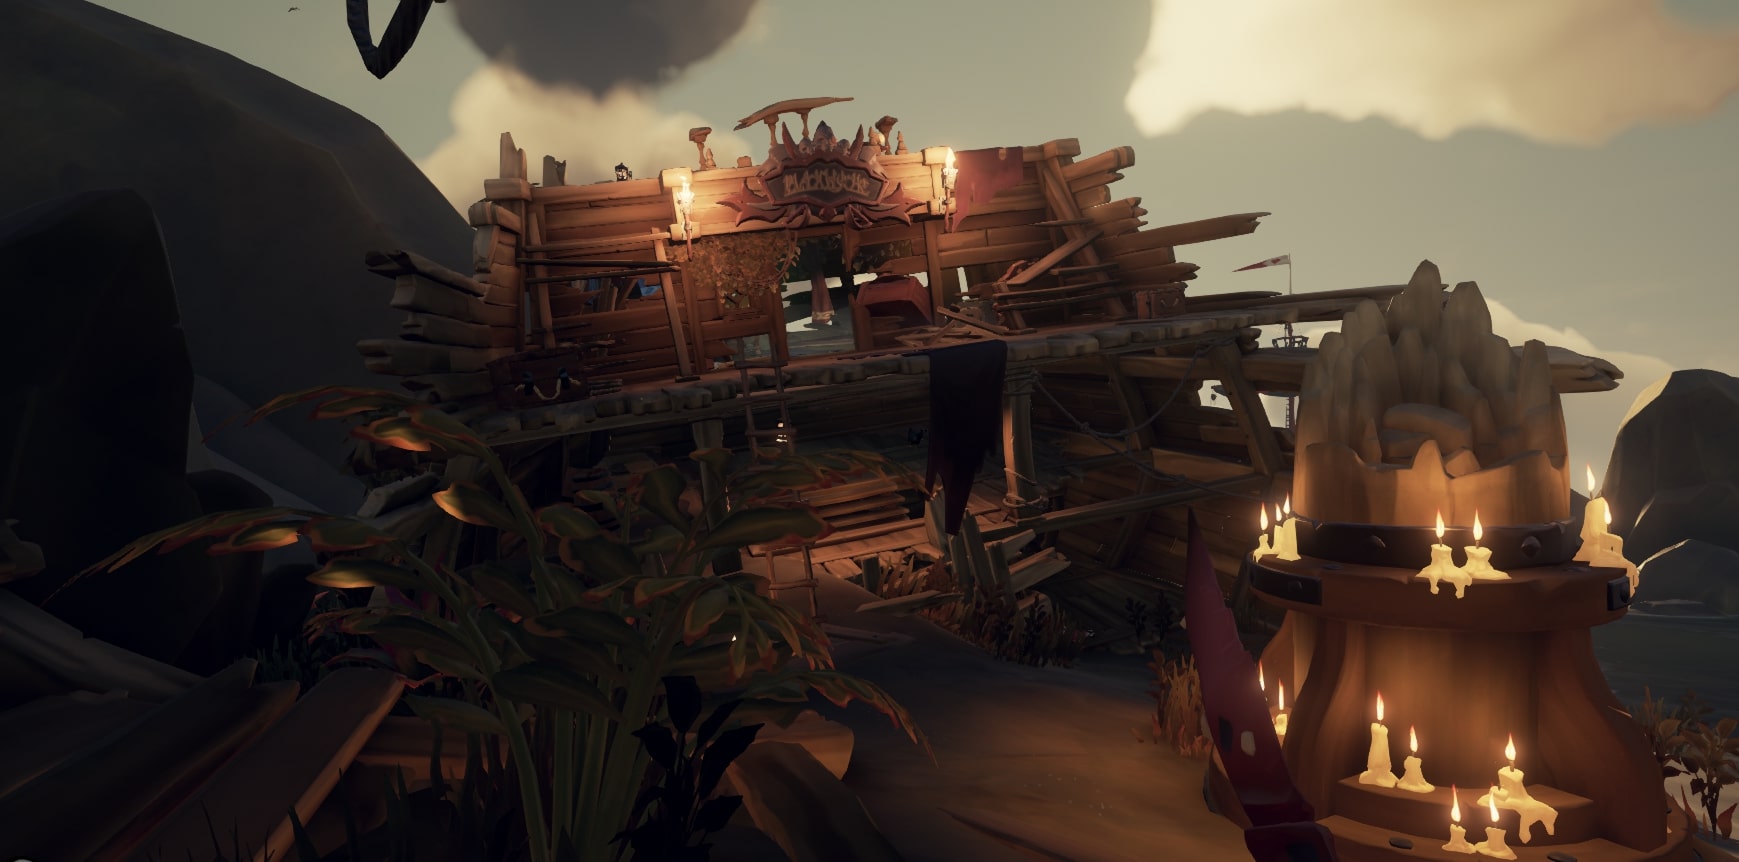
Look and approach the stern of the wreck. You must go inside the captain’s cabin!
Watch out, as too frequently three or four common skeletons will try to bother you.
Kill them immediately so you can proceed with the first part without any problems
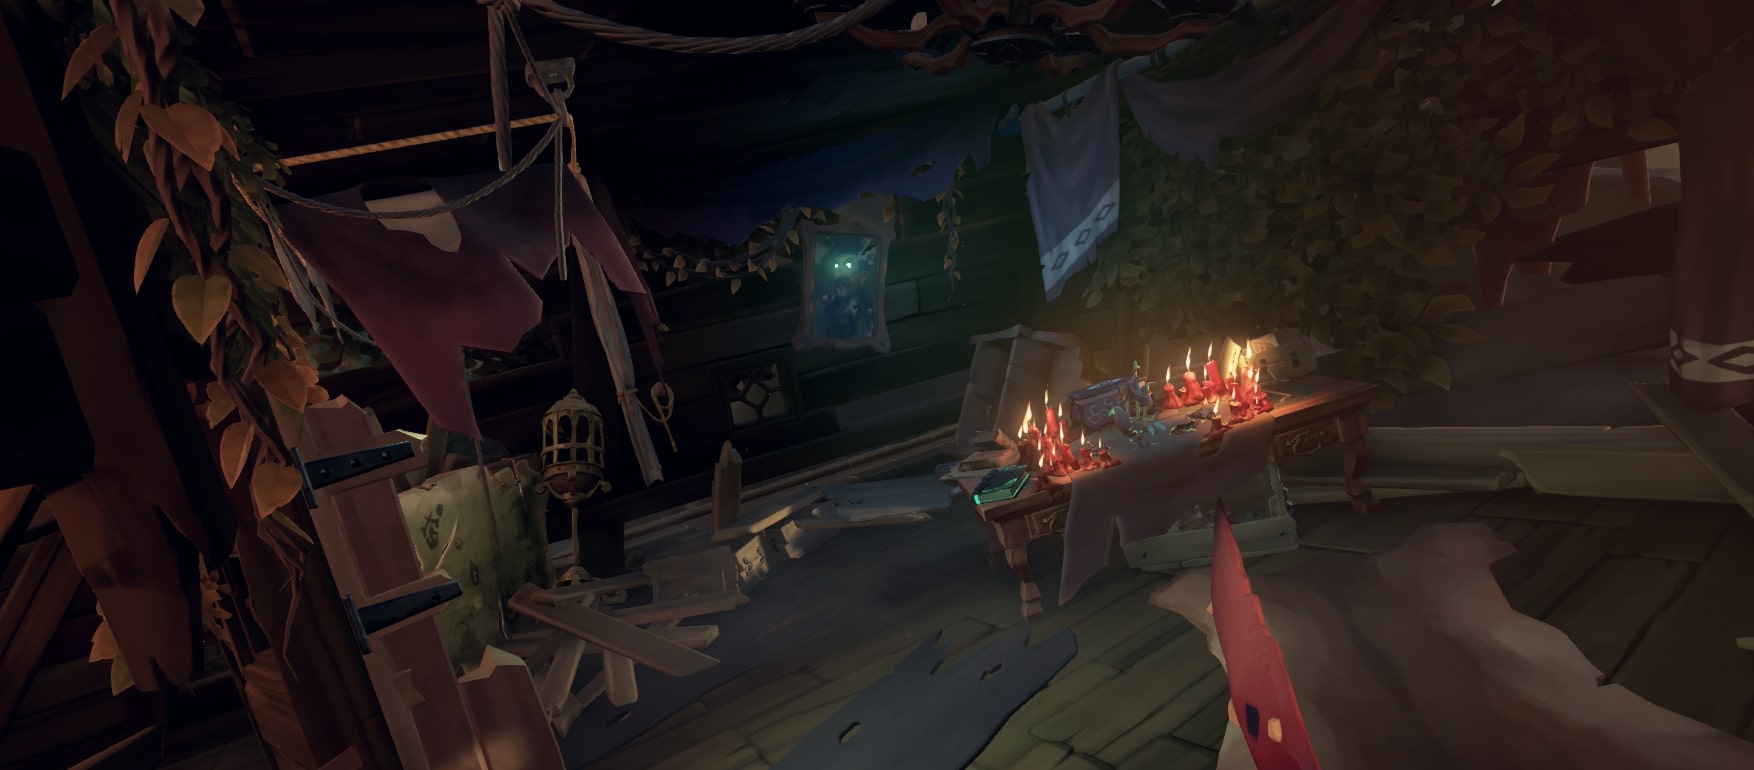
Once inside the captain’s cabin, you must vote on the mission using the same book technique as in the Tall Tales.
Stay inside the captain’s cabin until the dialogue ends, then exit.
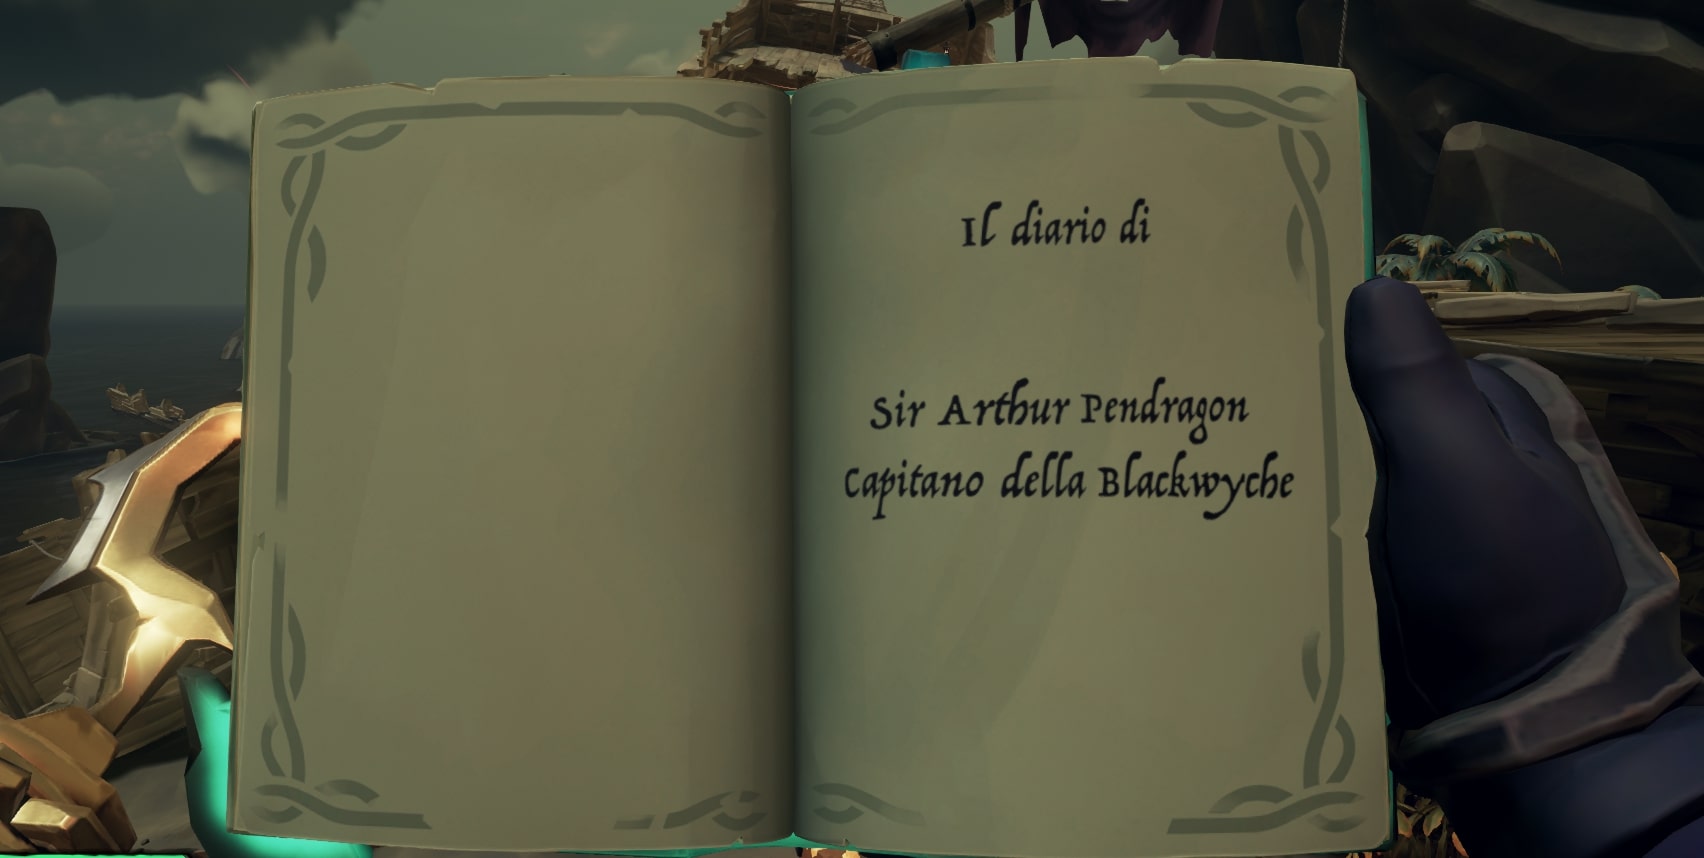
Start reading the logbook up to page 10, until this point the story remains the same for everyone.
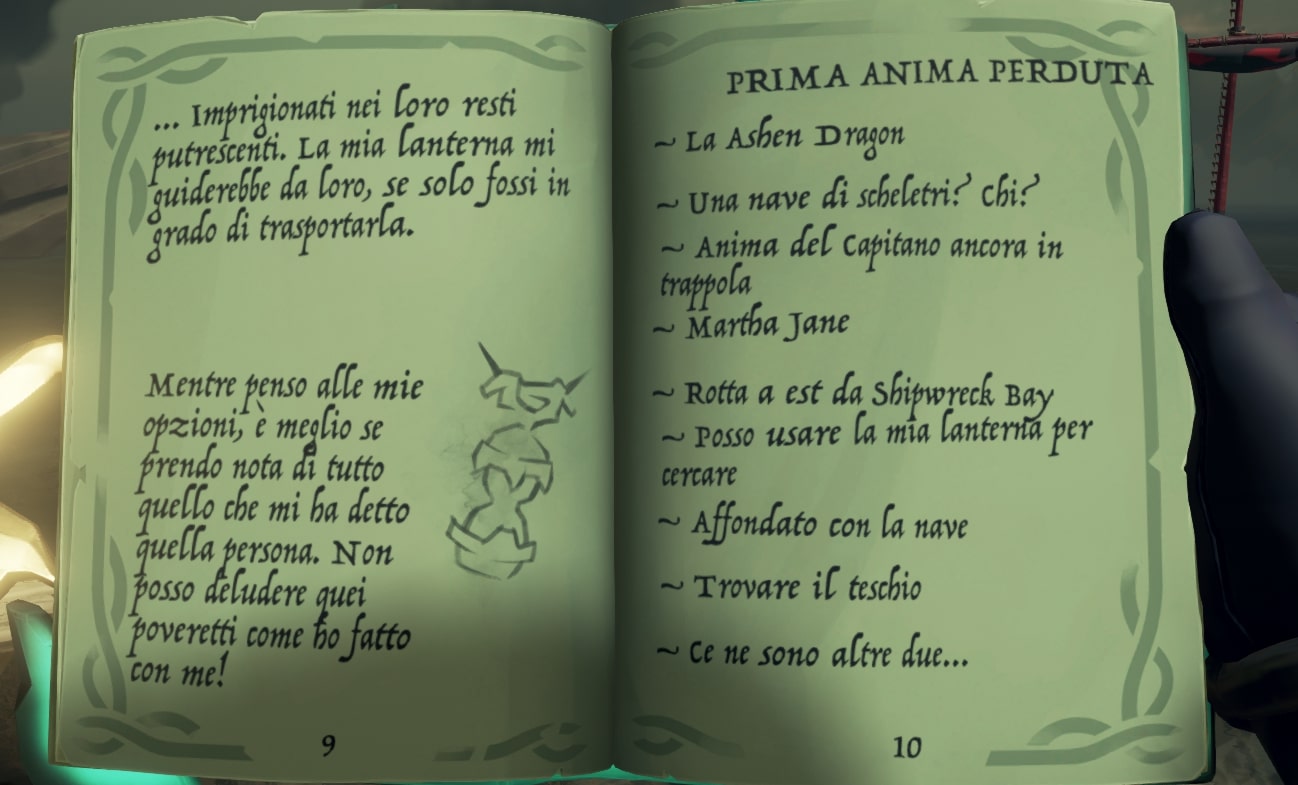
He therefore advises you to look towards the EAST.
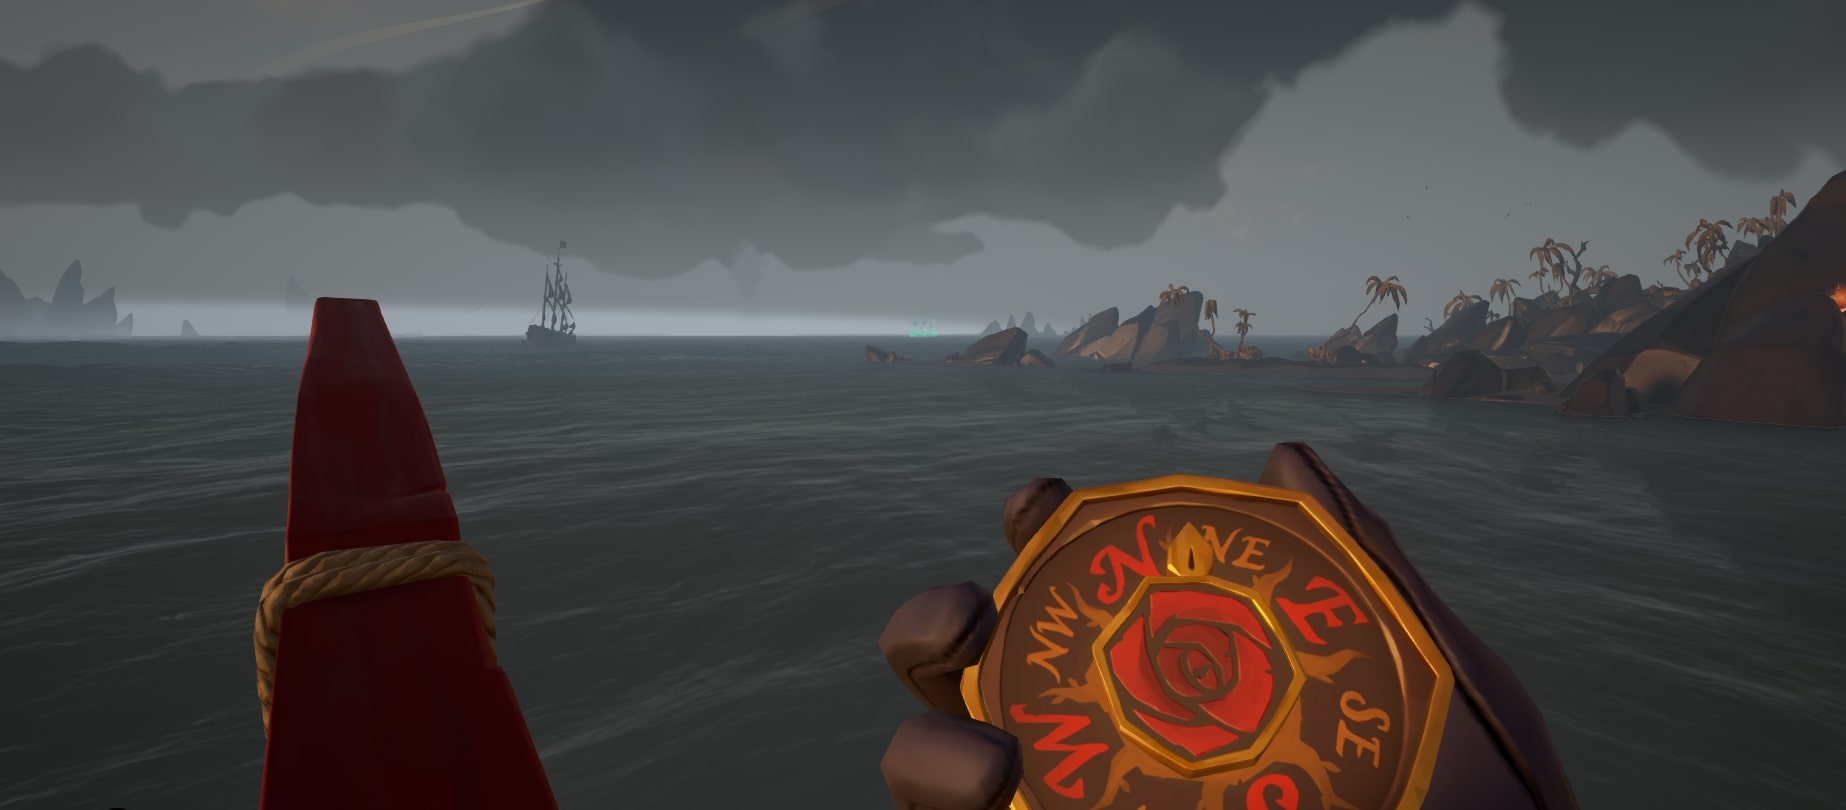
You’ll just need to exit the wreckage and point your compass in that direction to see three galleons engaged in battle.
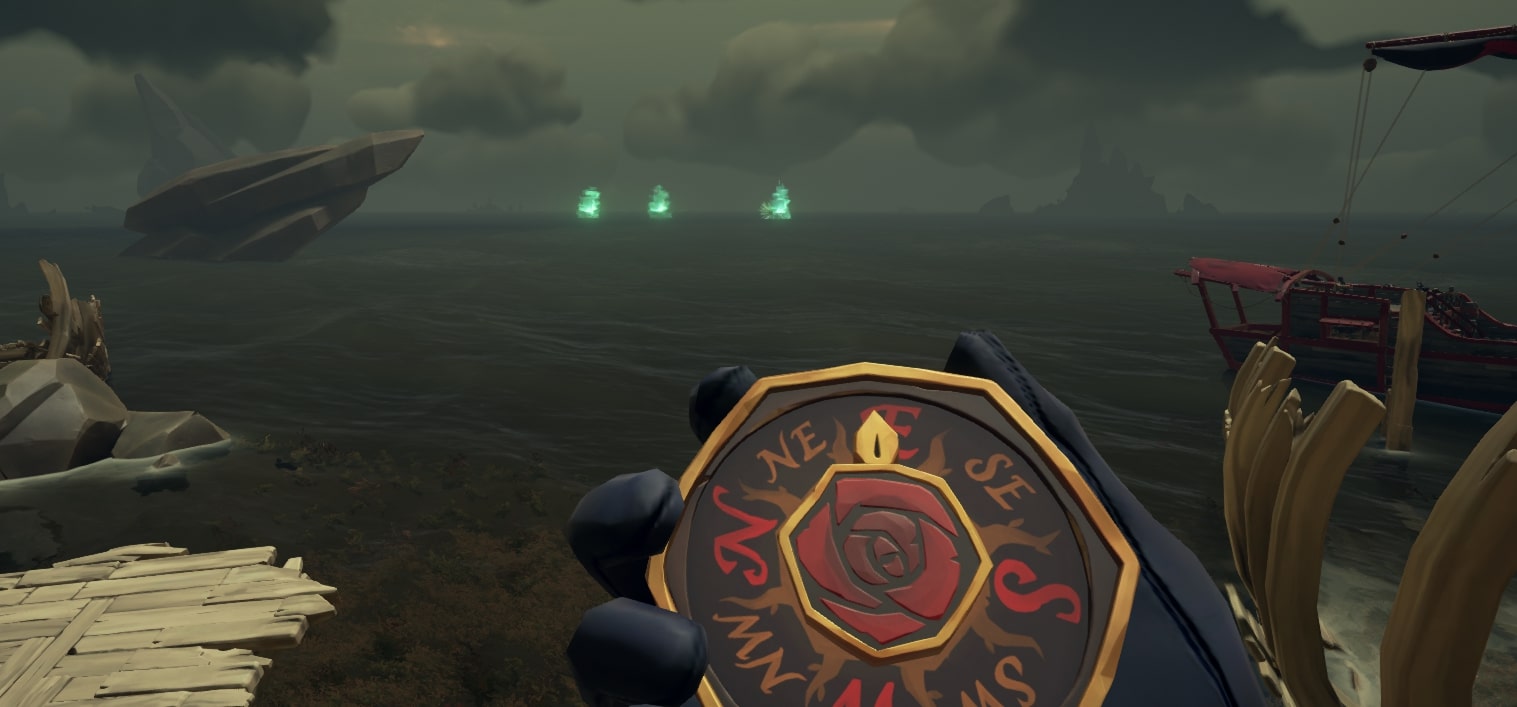
Take your boat and head towards them!
The closer you get, the more easily you’ll hear the sound of the “Phantoms” gunfire.
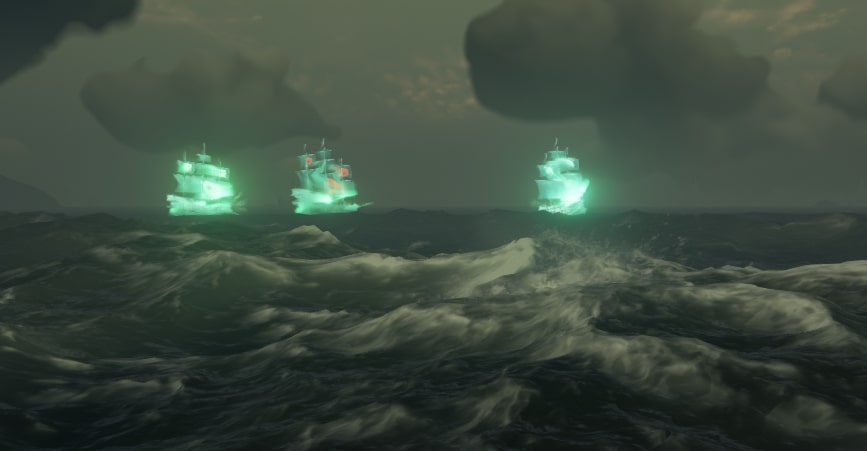
Once you've reached these three galleons, they will disappear toward a second visible objective relative to your position.
From here, the story branches into different directions, and with various steps, the technique/procedure remains the same.
The possible destination islands are:
- Liar’s Backbone
- Shiver Retreat
- The Crooked Masts
- Tri-Rock Isle
- Shark Tooth Key
In this case, it took us to the east of Crooked Masts before heading towards Shark Tooth Key.
You can see the gradual progression until reaching the island.
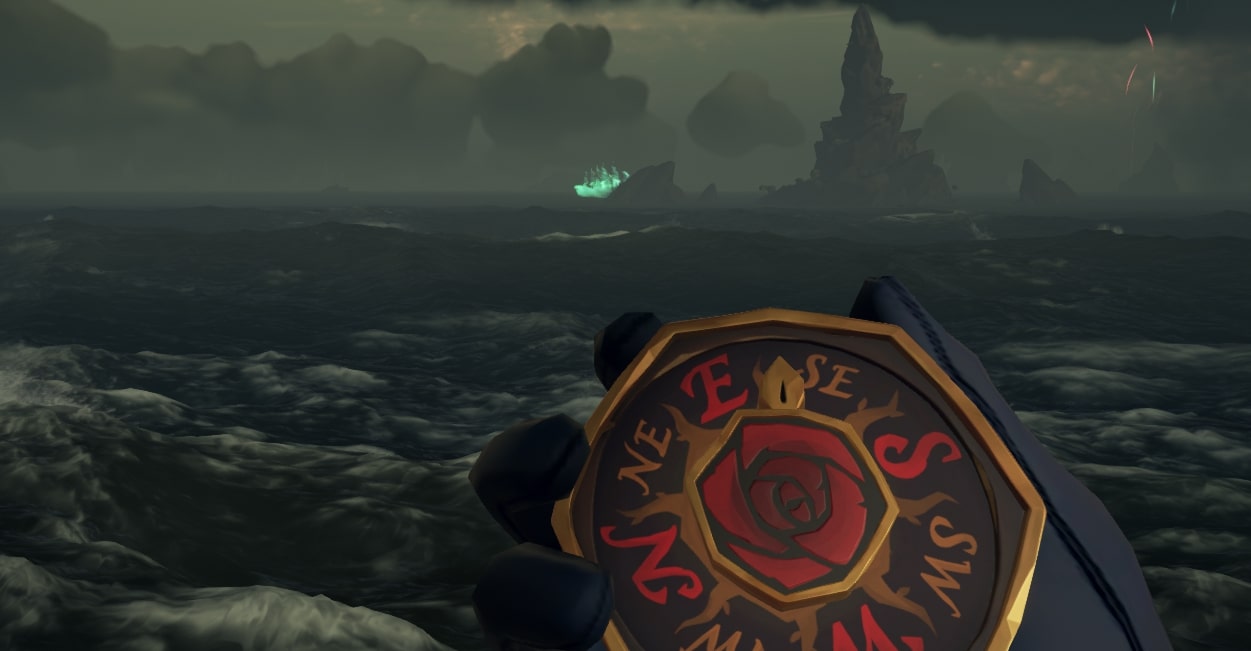
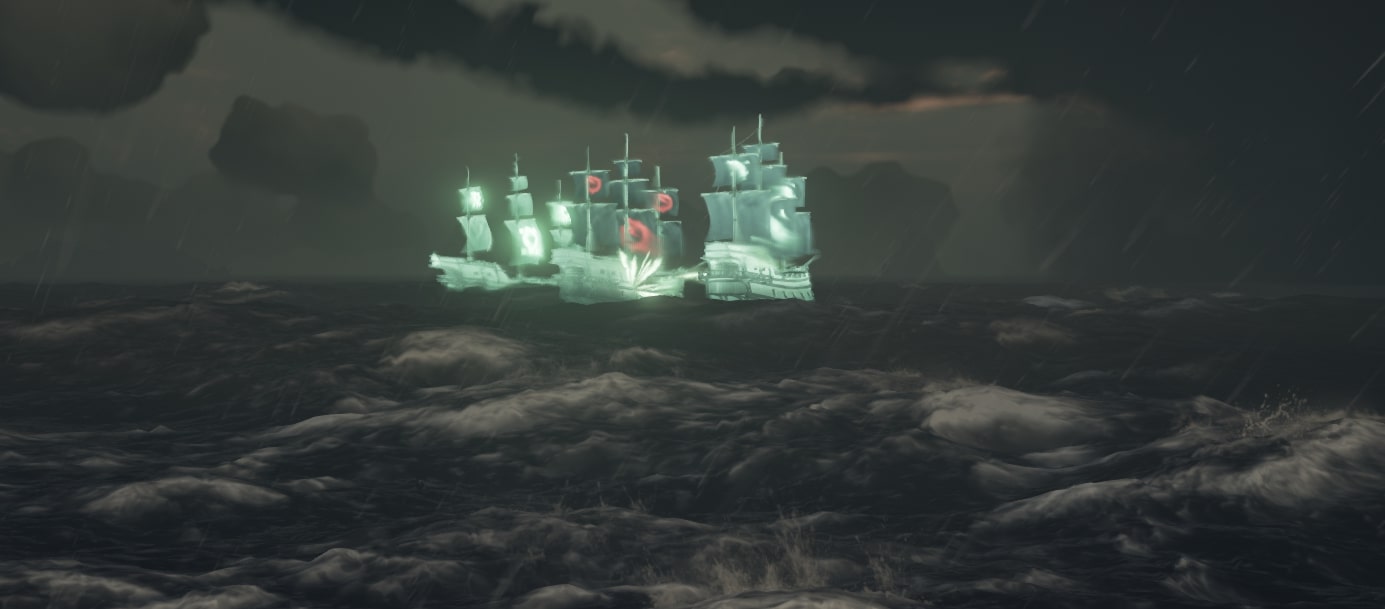
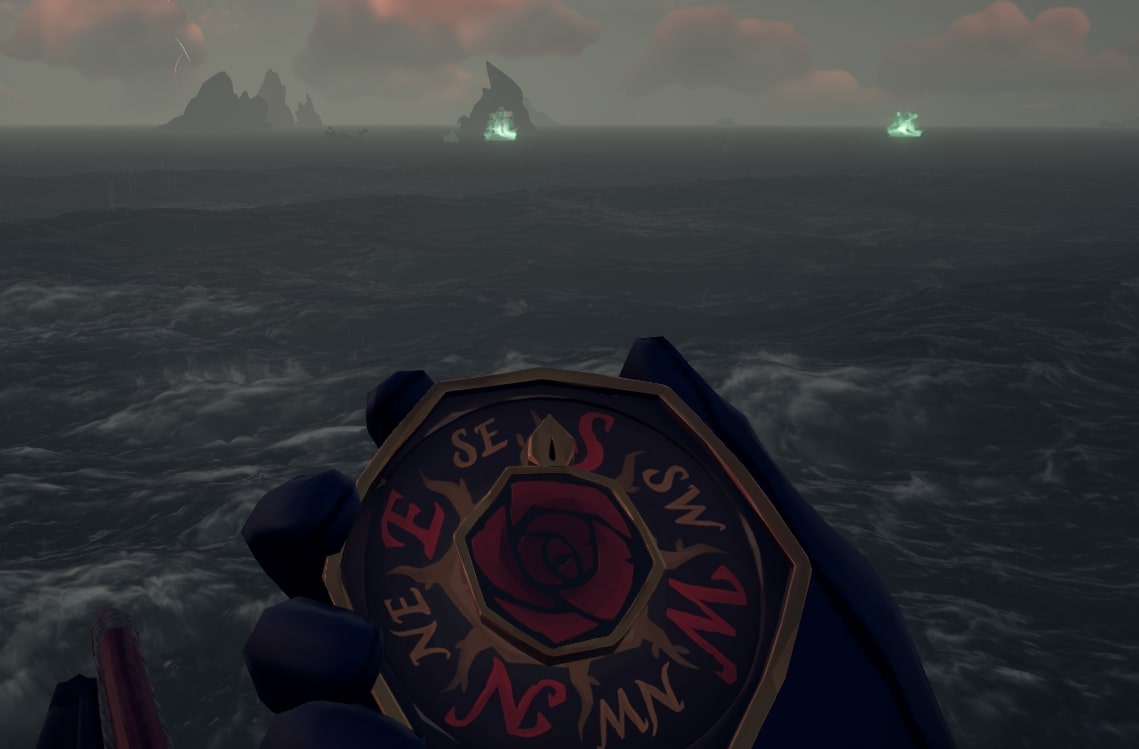
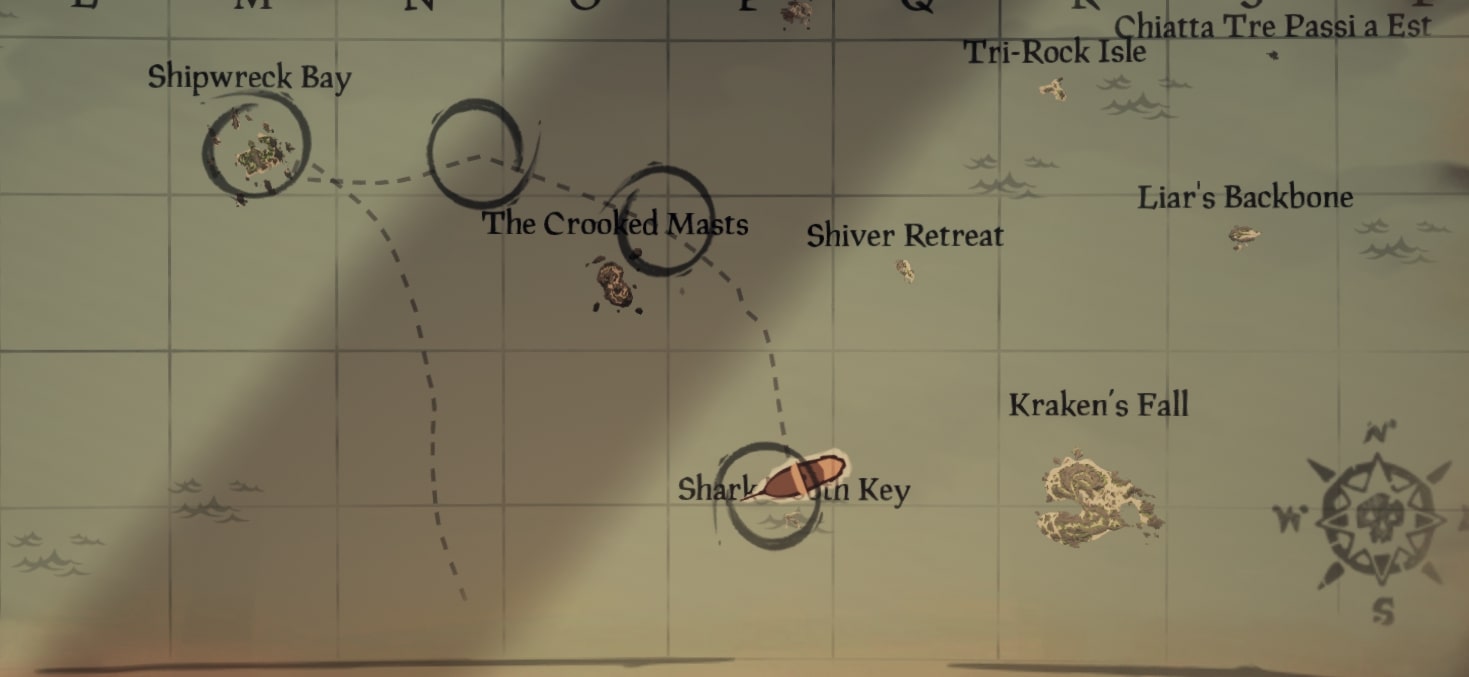
Once we reach the island, we immediately notice one of these ships sinking and the other two fleeing.
Here, you’ll have to stop and dive into the wreckage. The stunning music will accompany this phase in a truly surprising way.
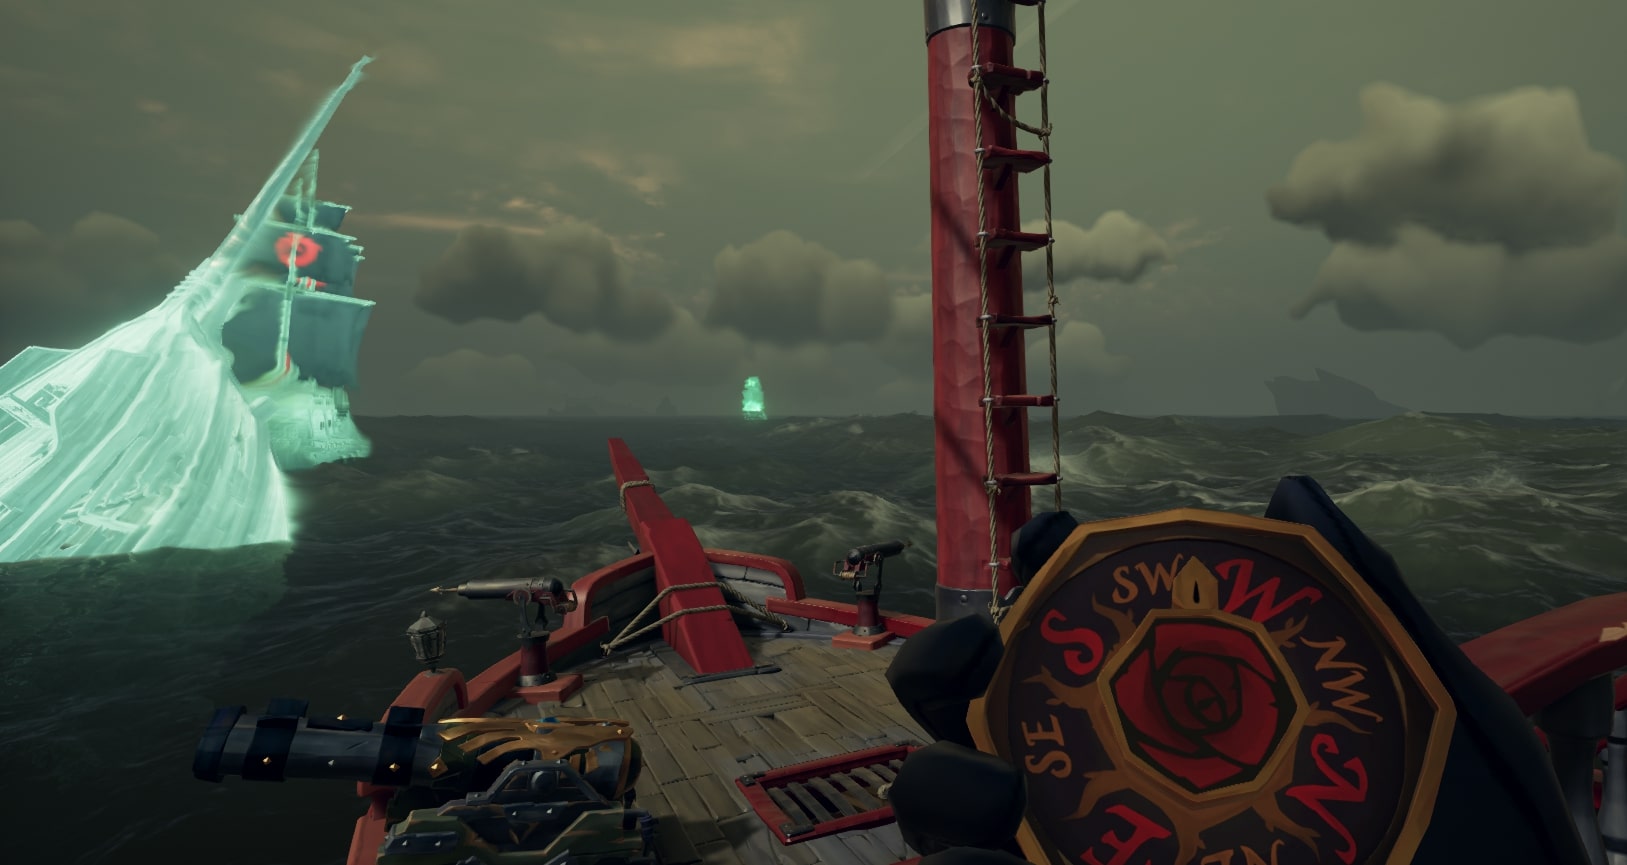
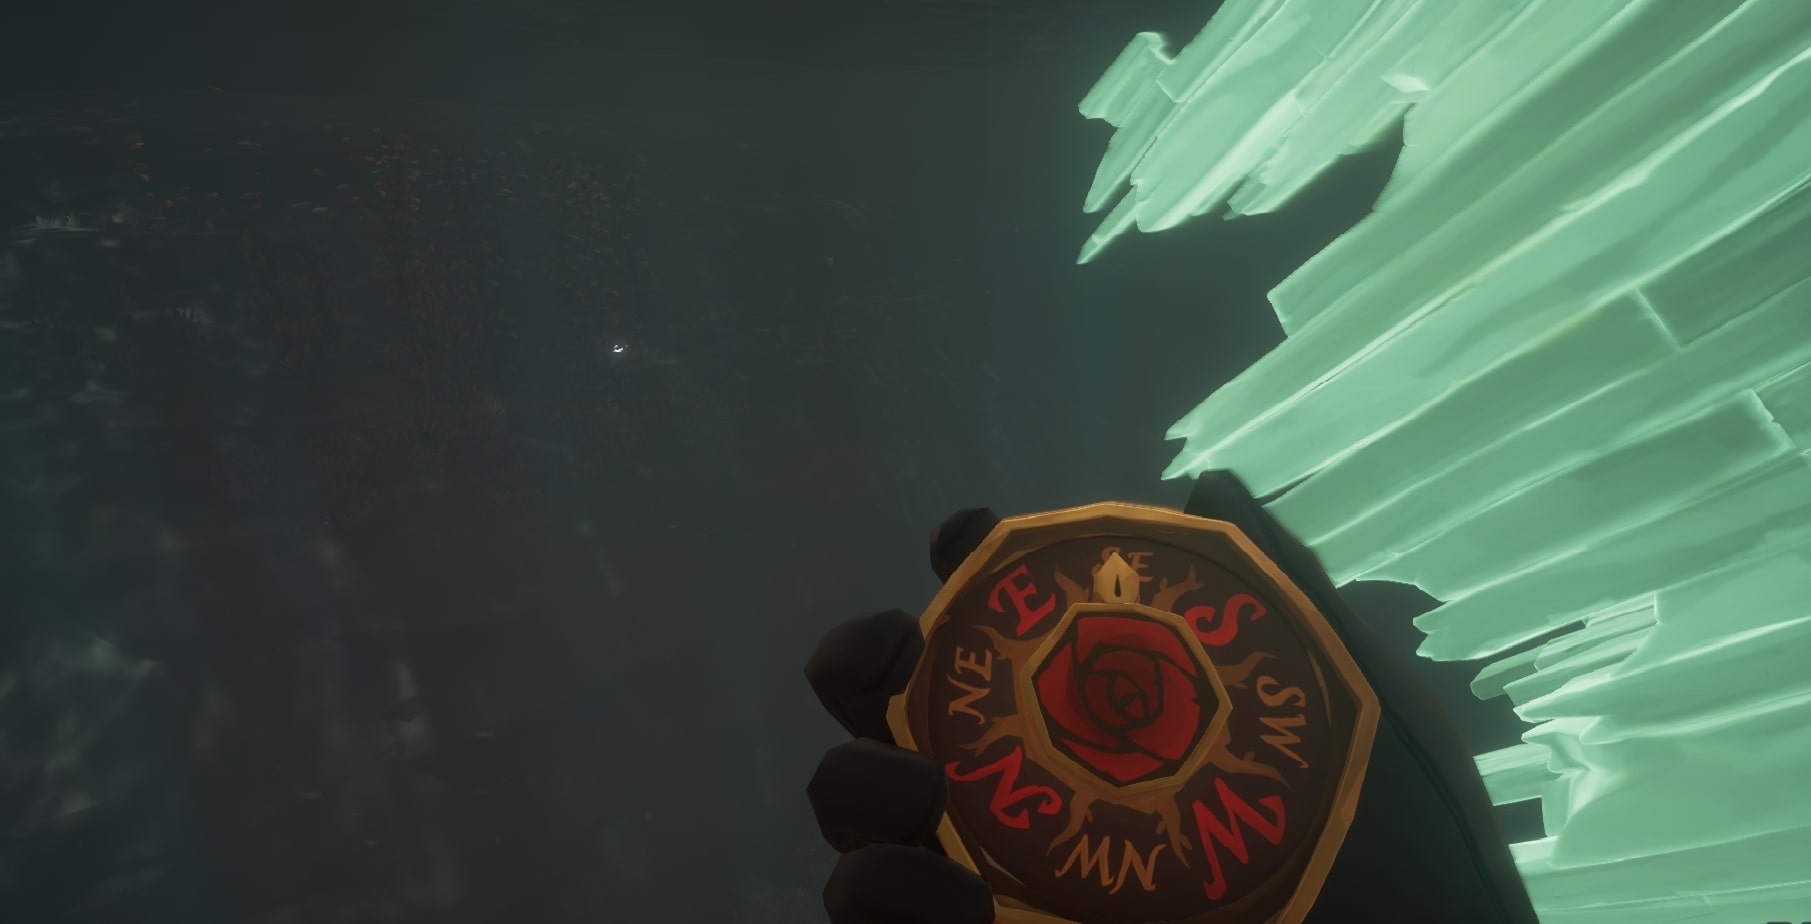
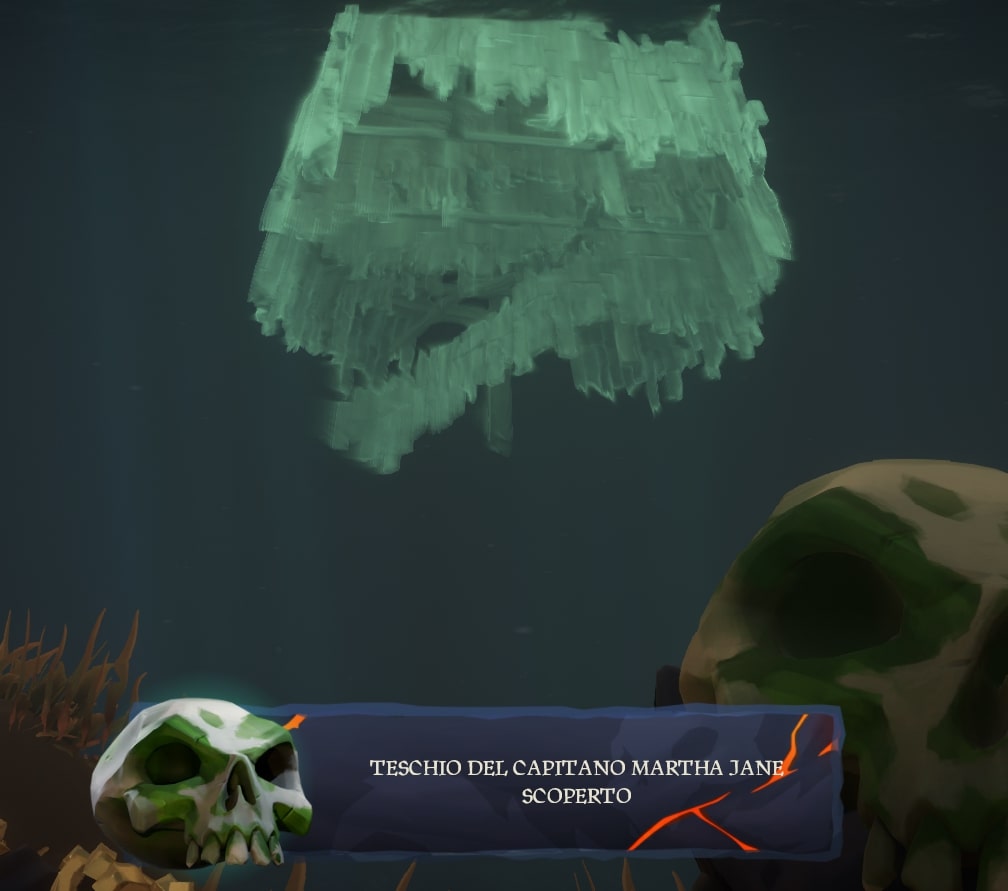
As soon as you dive into the water, you’ll immediately notice an object glowing on the seabed.
Collect it and you will unlock the first part of the story.
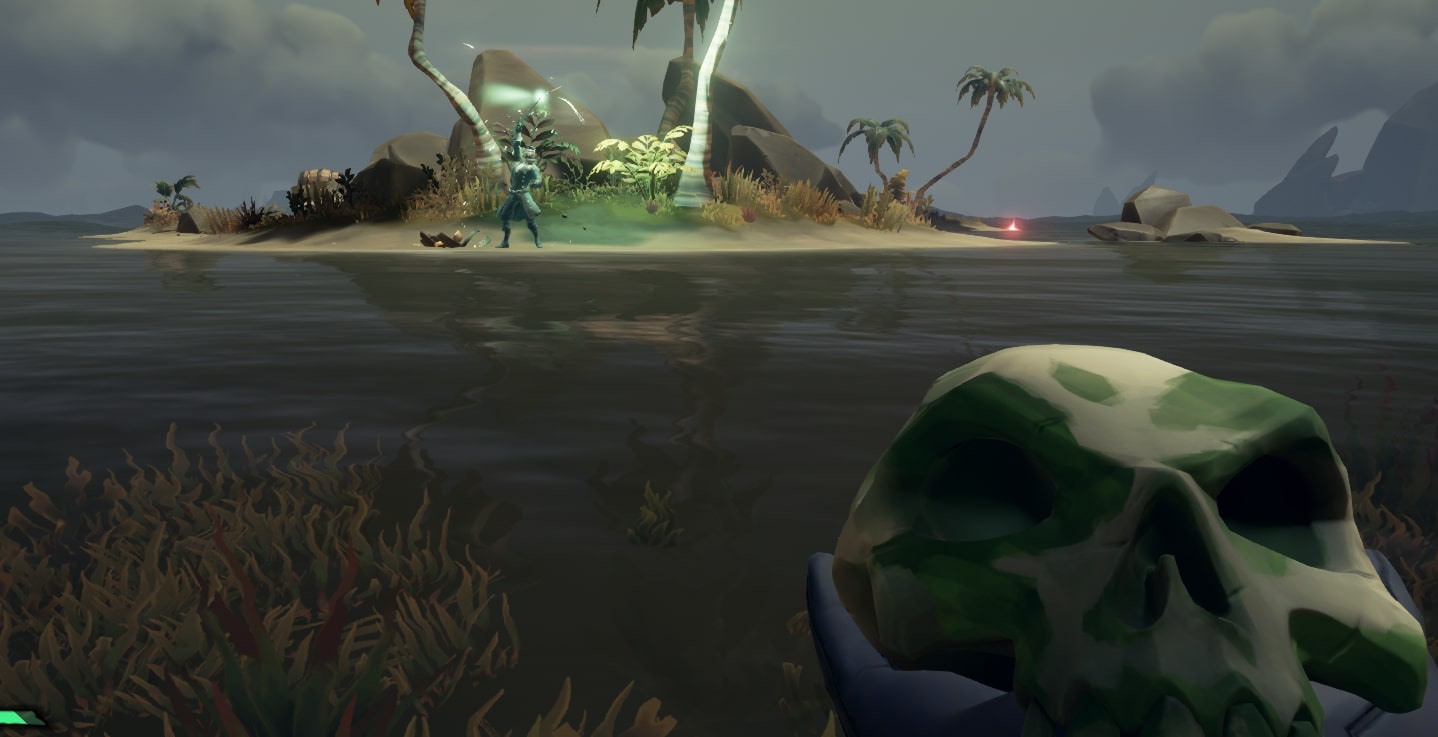
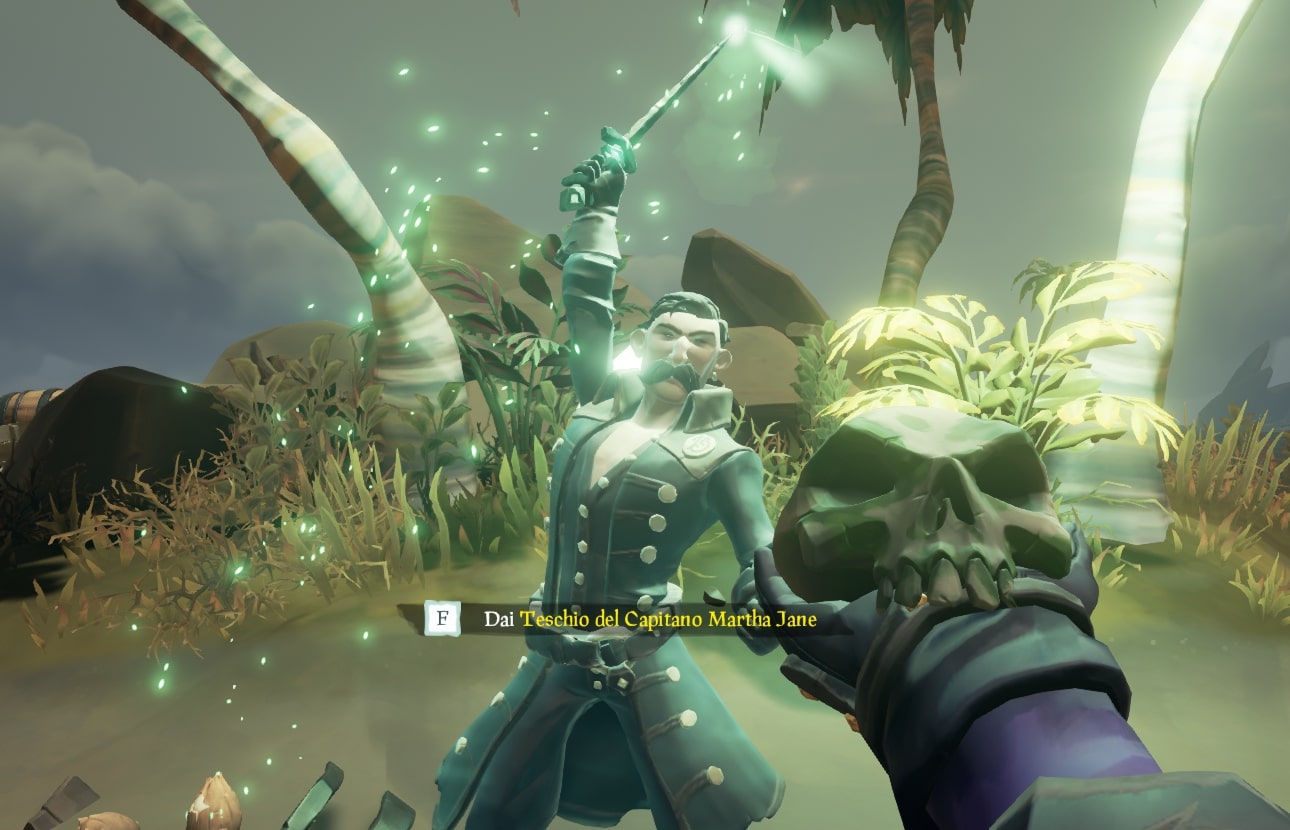
Next, head towards the mainland beside you, where you will find the ghost of Arthur Pendragon who constantly calls you.
Give him the skull, wait for the dialogue to end, and you will have earned new pages in the journal.
From here, the story can follow different paths.
In our case, page 12 shows the island of Kraken’s Fall, where our interest is to head as soon as possible.
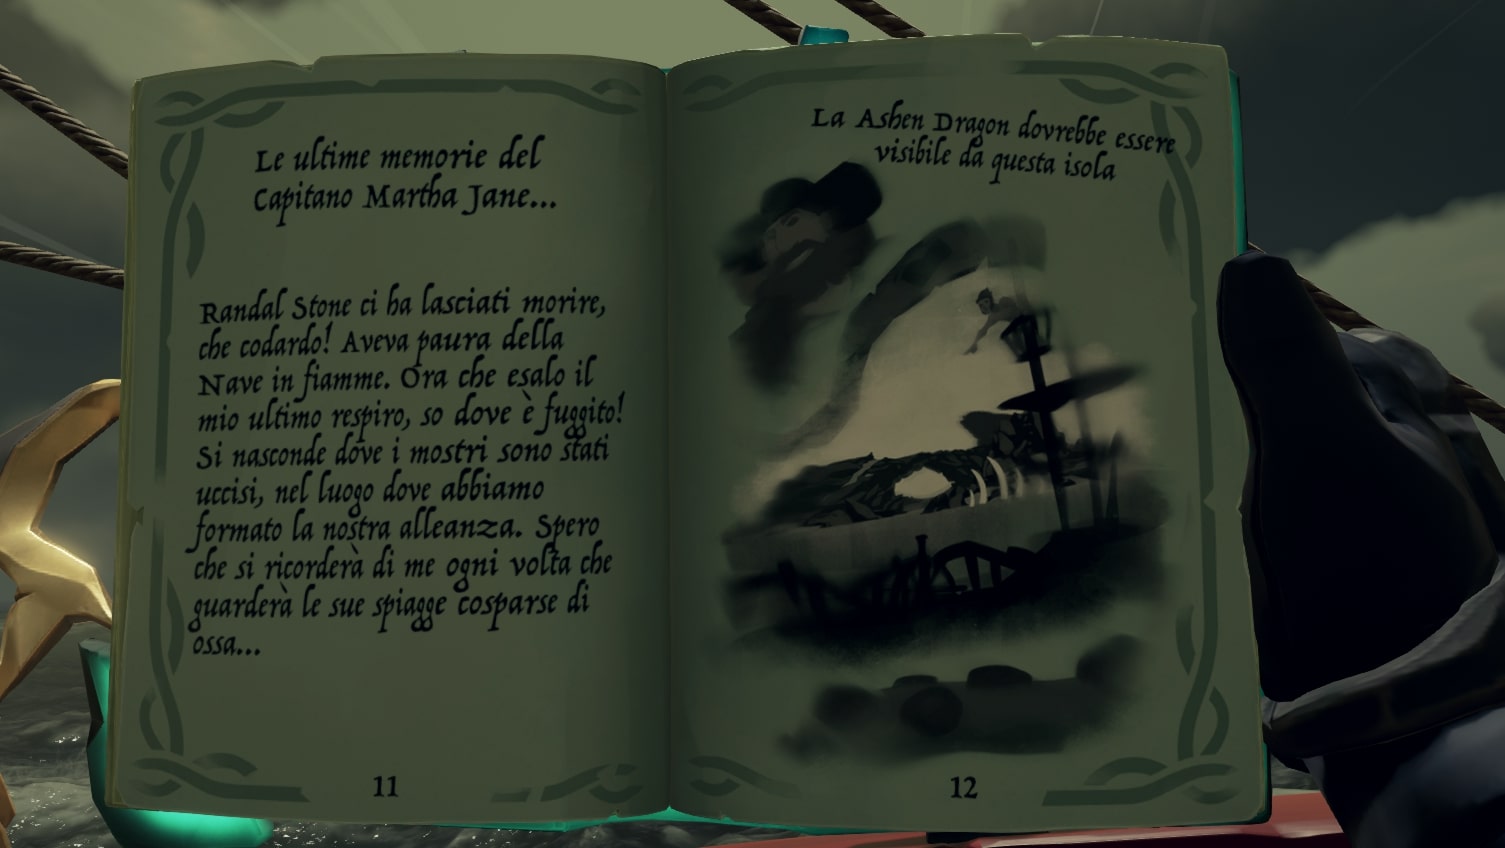
Isola di Kraken’s fall
As an alternative to Kraken’s fall, we’ve noticed that only Fetcher’s Rest appears at the moment, as reported in the photo below.
If you found the page with Fetcher’s Rest, it won’t be explained in this part of the guide
but to understand the dynamics, I recommend you continue reading what we followed towards Kraken’s Fall.
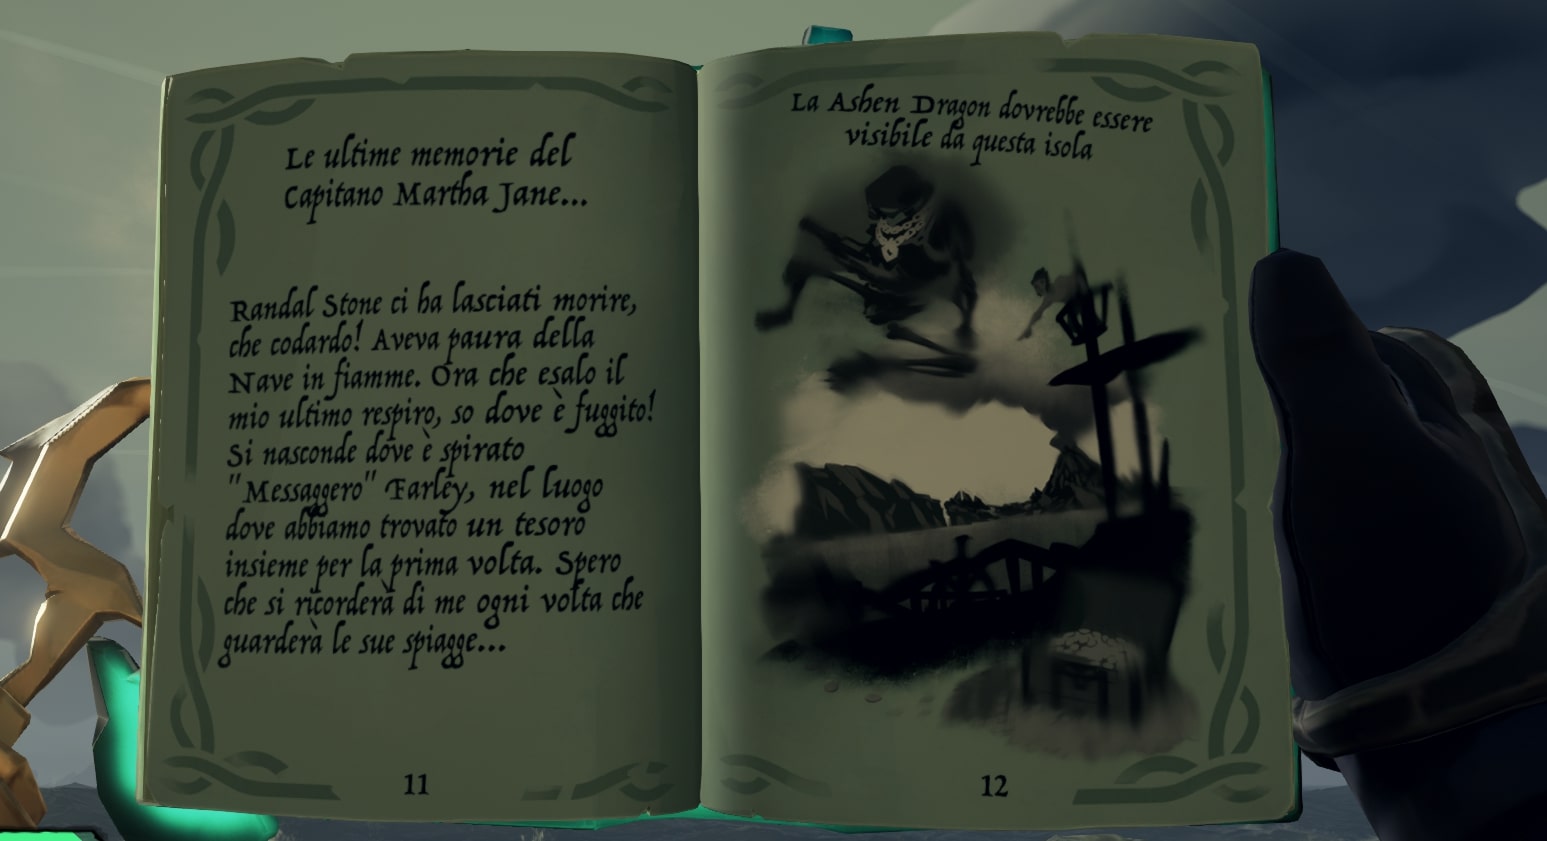
Fetcher’s Rest Island
Following the instruction for Kraken’s Fall, once reached we notice that to the SOUTH there is a ghost galleon, and we head towards it.
NOTE WELL: You may realise that the ghost galleon is not immediately visible. Climb onto the roof of your ship and it should magically appear near the island!
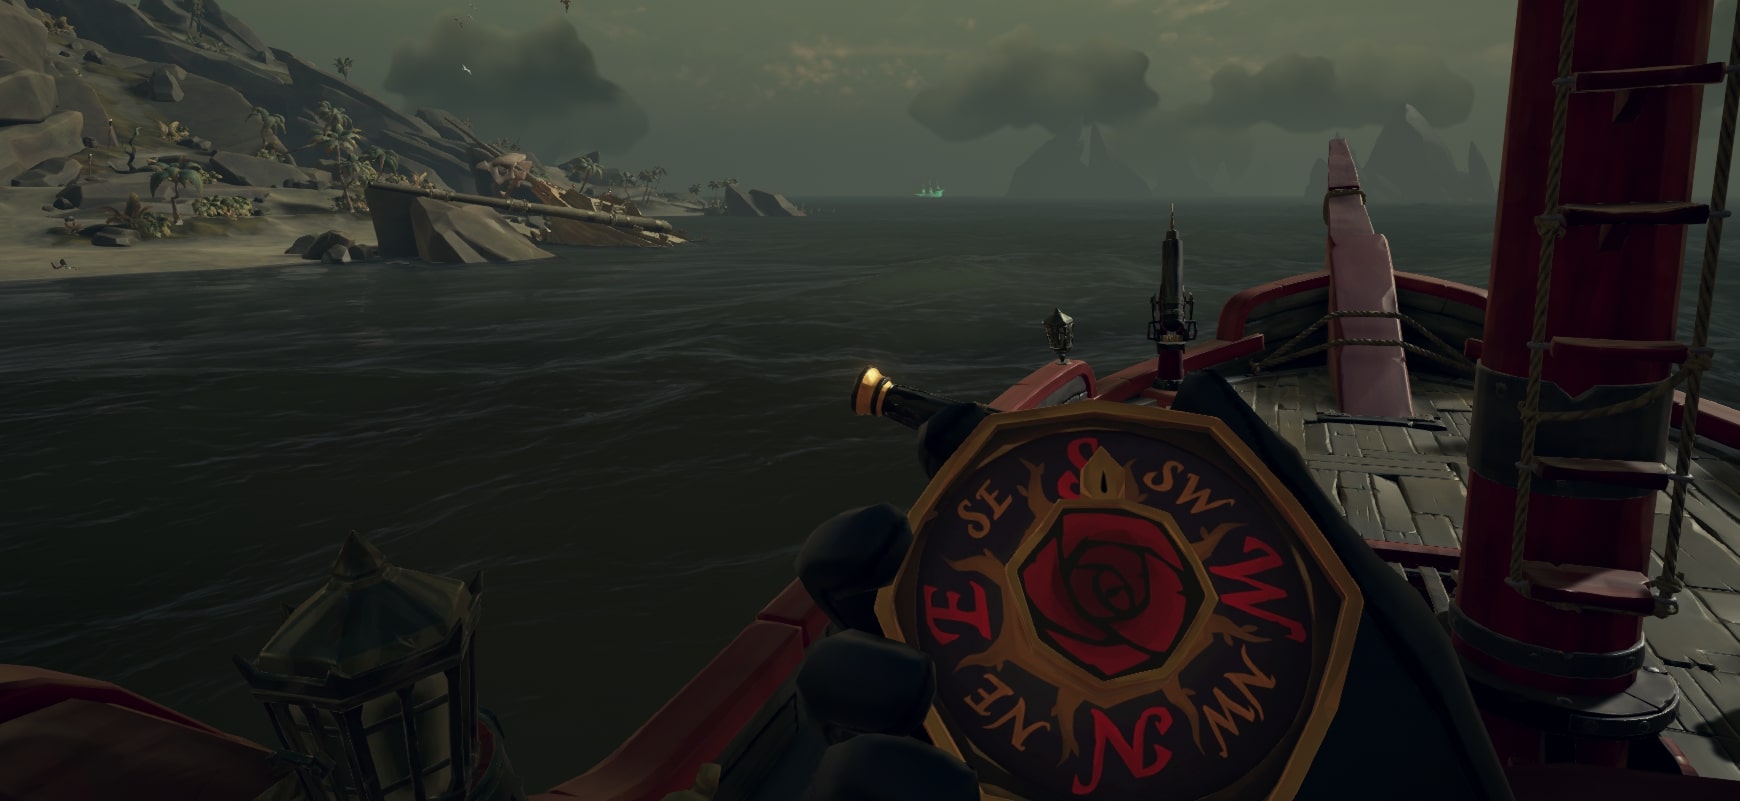
We proceed to pursue it constantly.
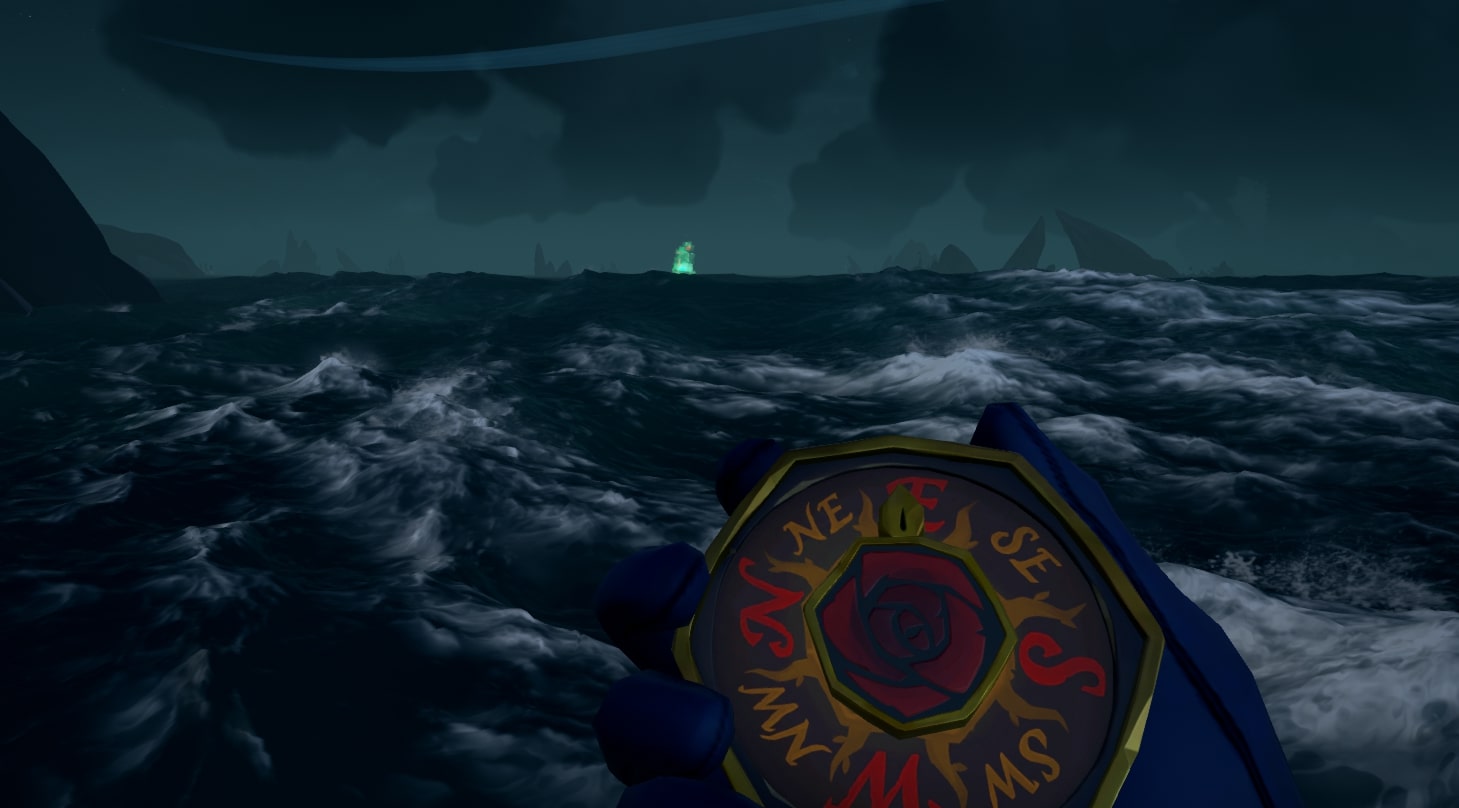
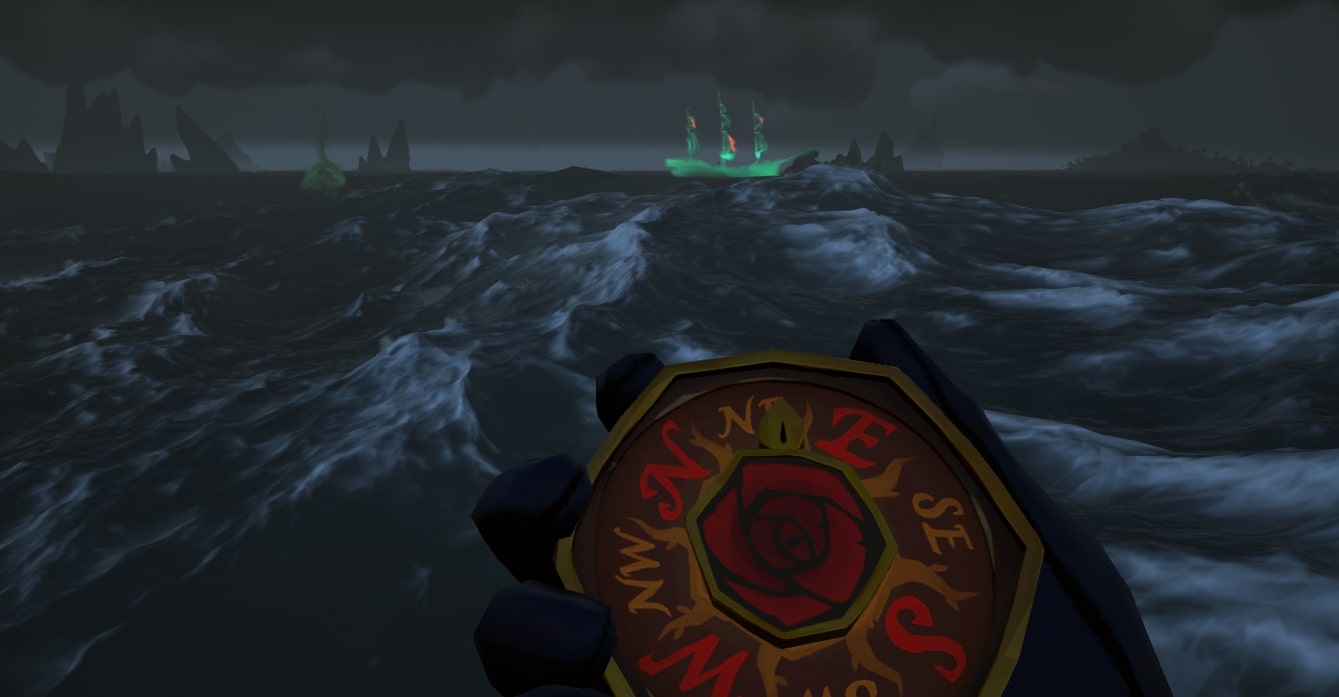
Until you realise it stops at Cinder Islet.
Alternatives to Cinder Isle are: Scorched Pass or The Forsaken Brink.
(Maybe useful for those who found Fetcher’s Rest on page 12)
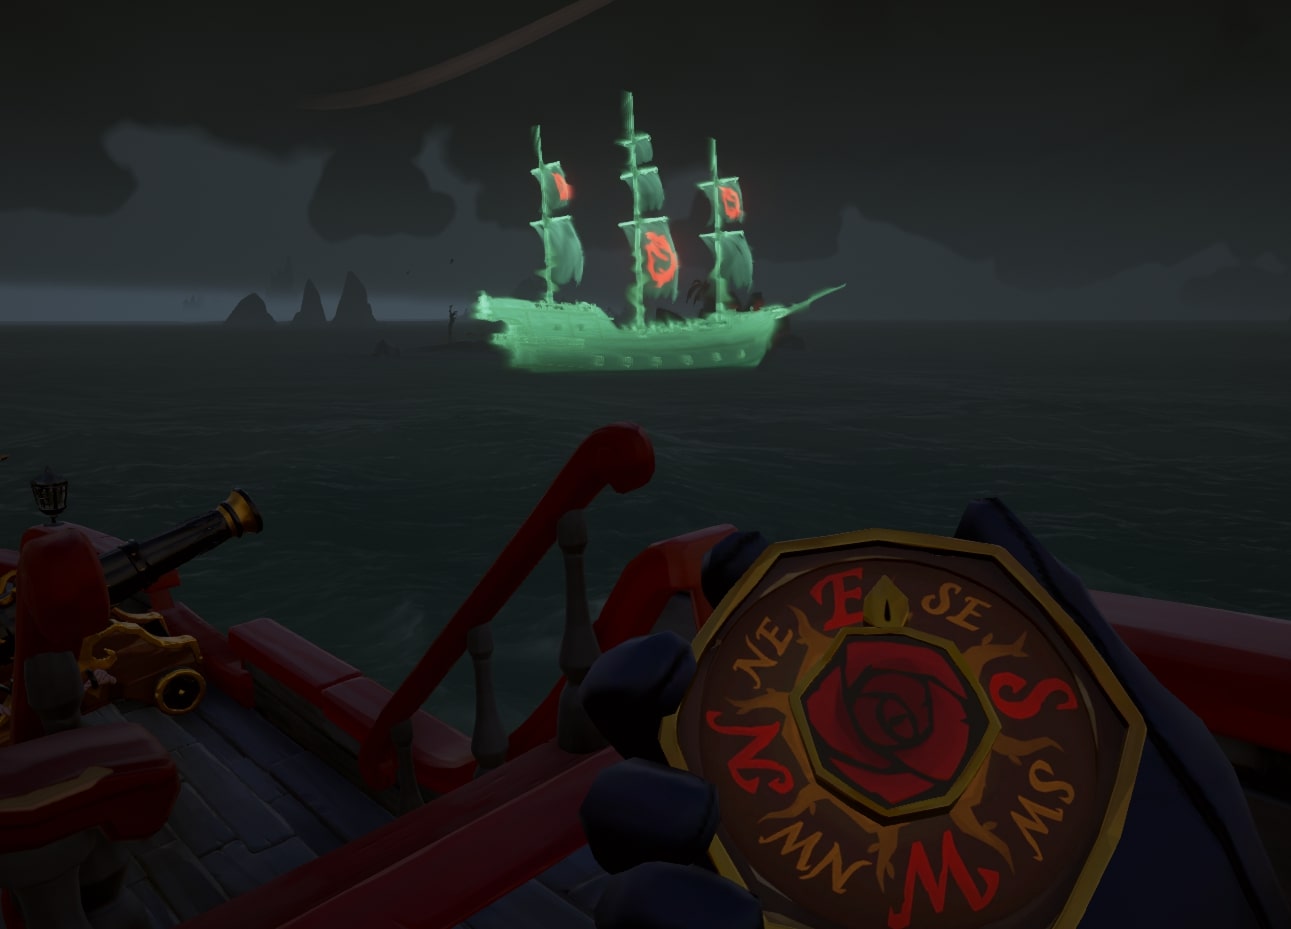
It’s therefore time for us to head to the island and, using the enchanted lantern, follow the various scenes until the final area.
If you can’t find your way, follow the ground tracks and you’ll definitely reach the spot where Captain Randal Stone was killed.
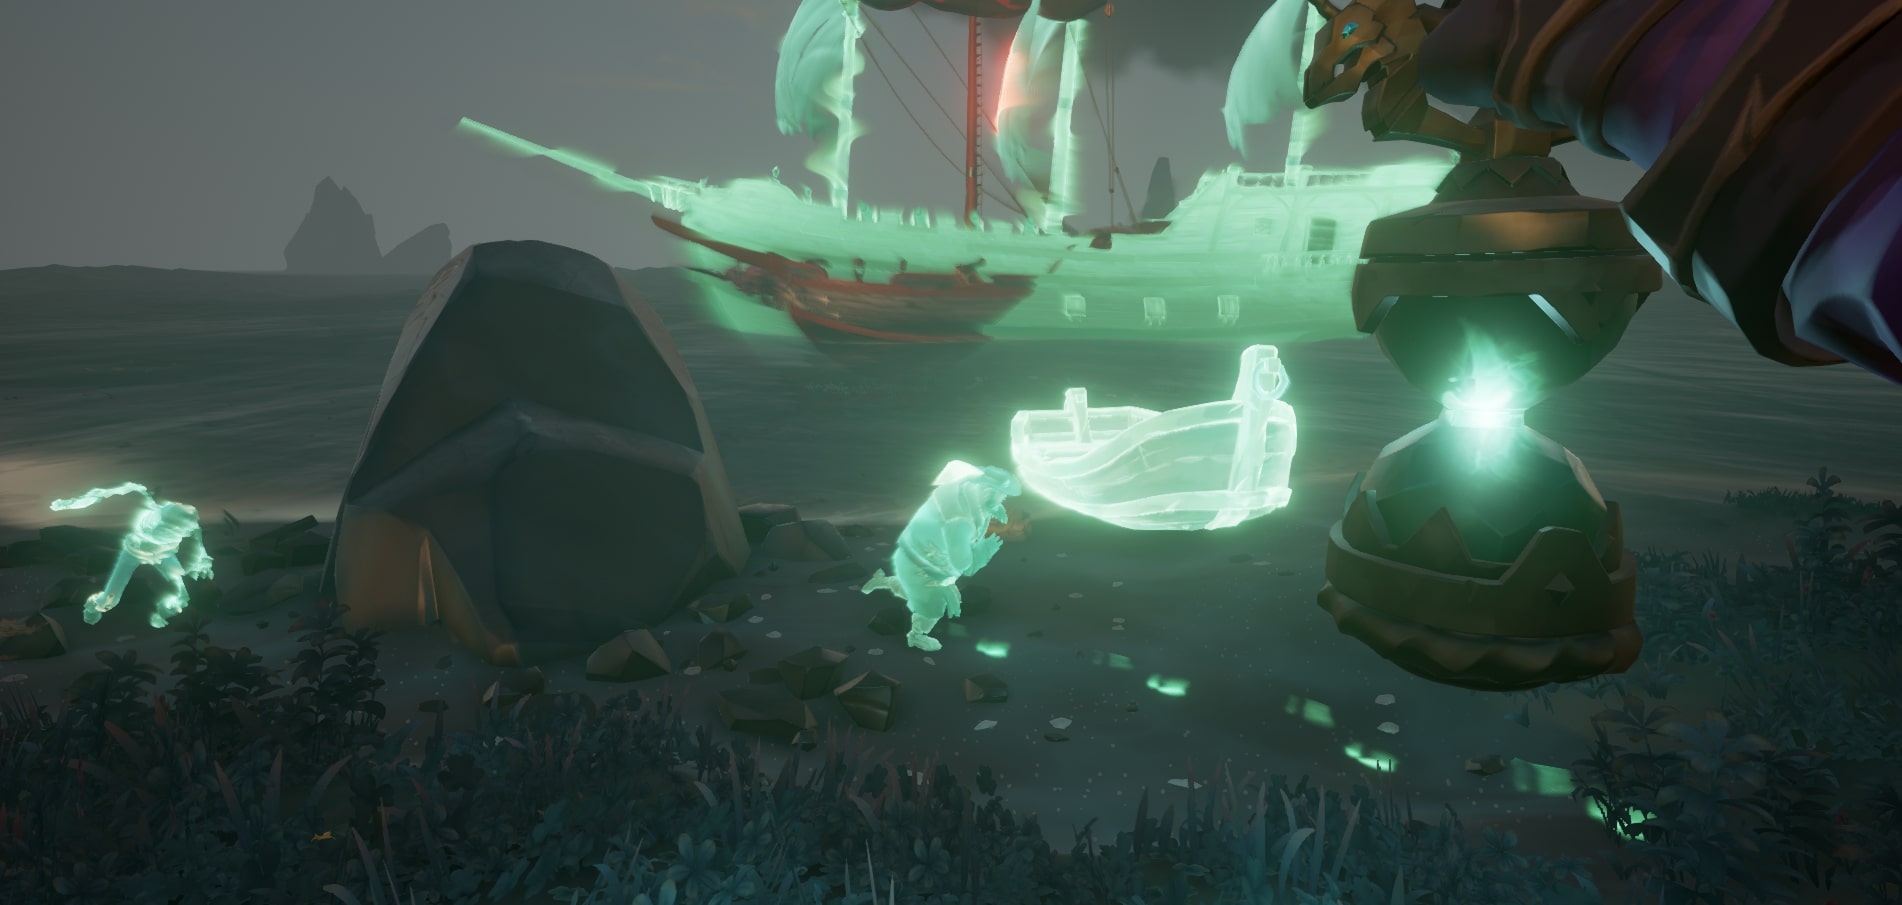
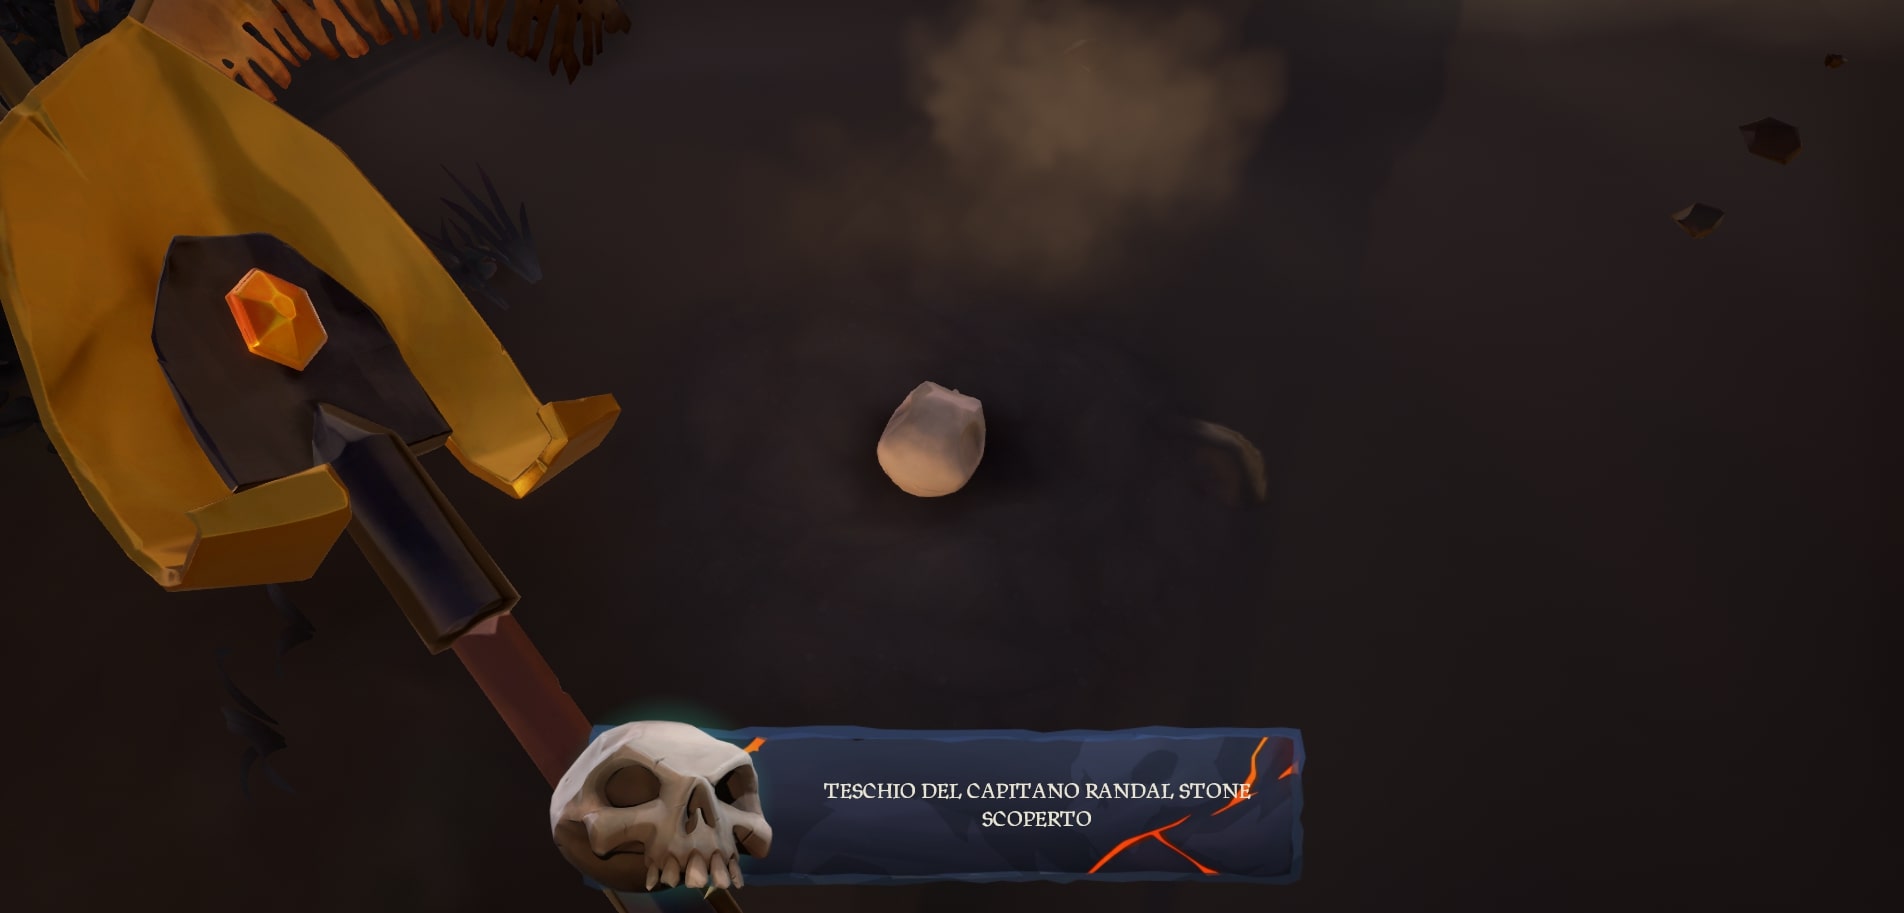
Proceed to the exact spot where he was killed to dig and find his skull.
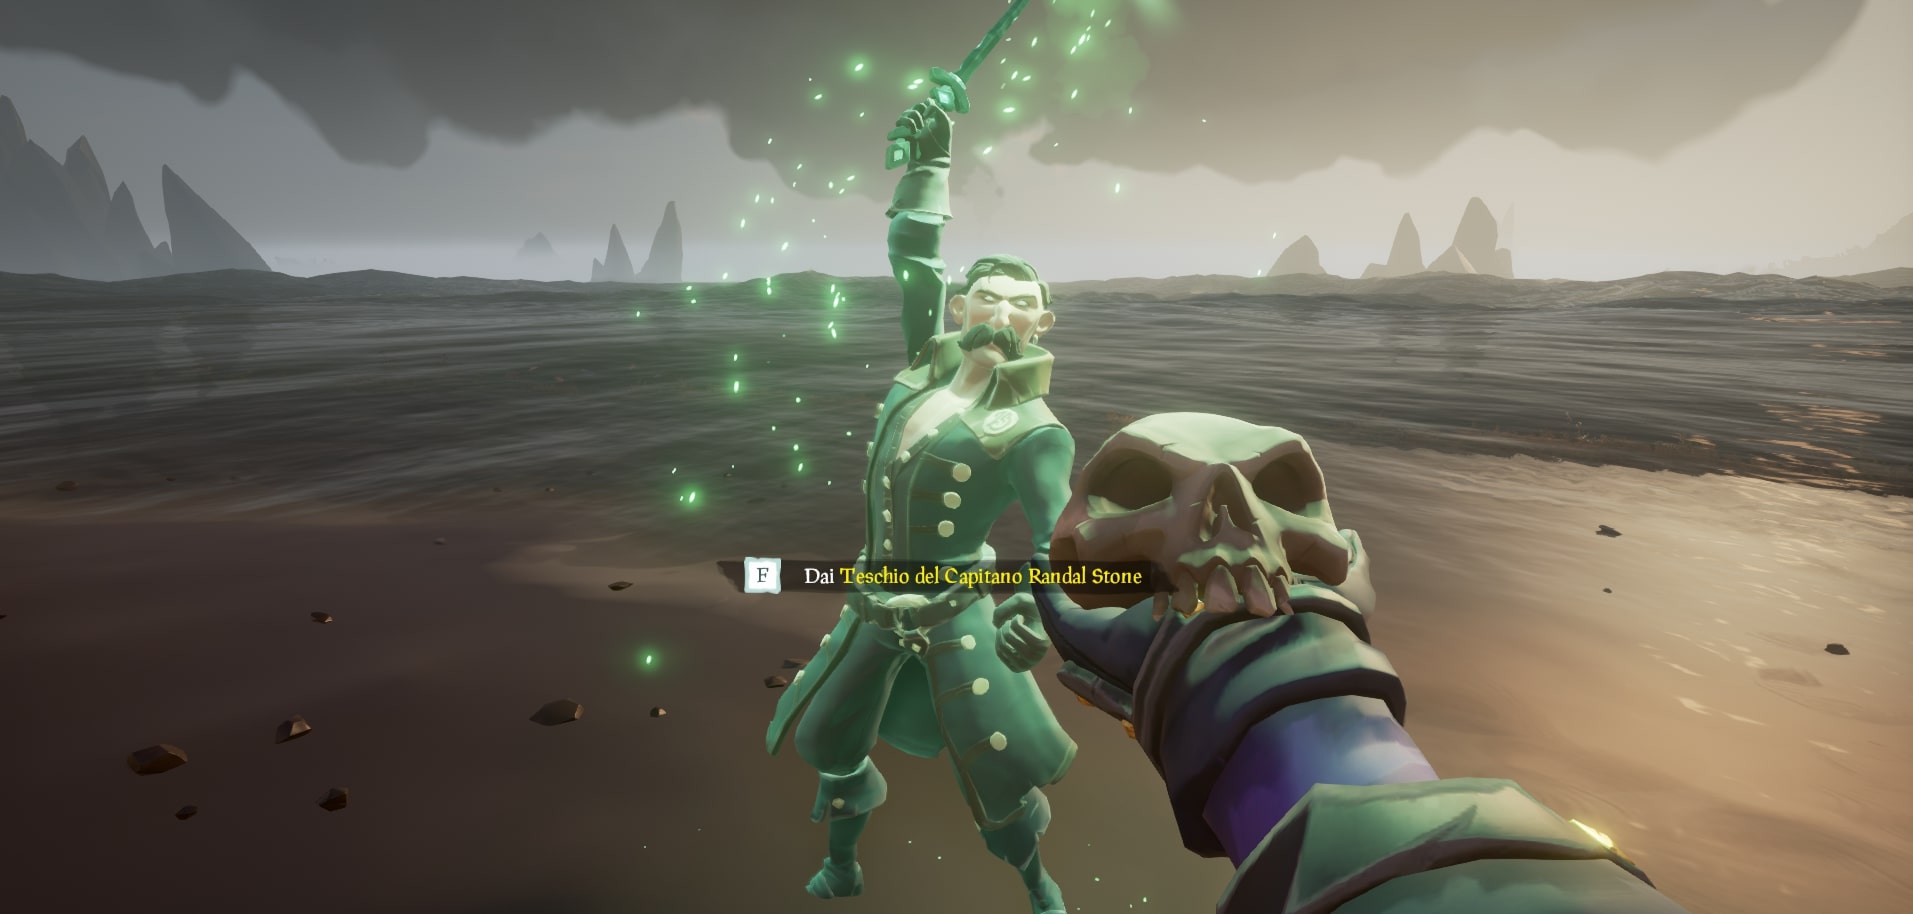
Deliver Arthur Pendragon again and wait for the dialogue to end. You will receive new pages of the journal.
In our case, page 14 indicates Ruby’s Fall.
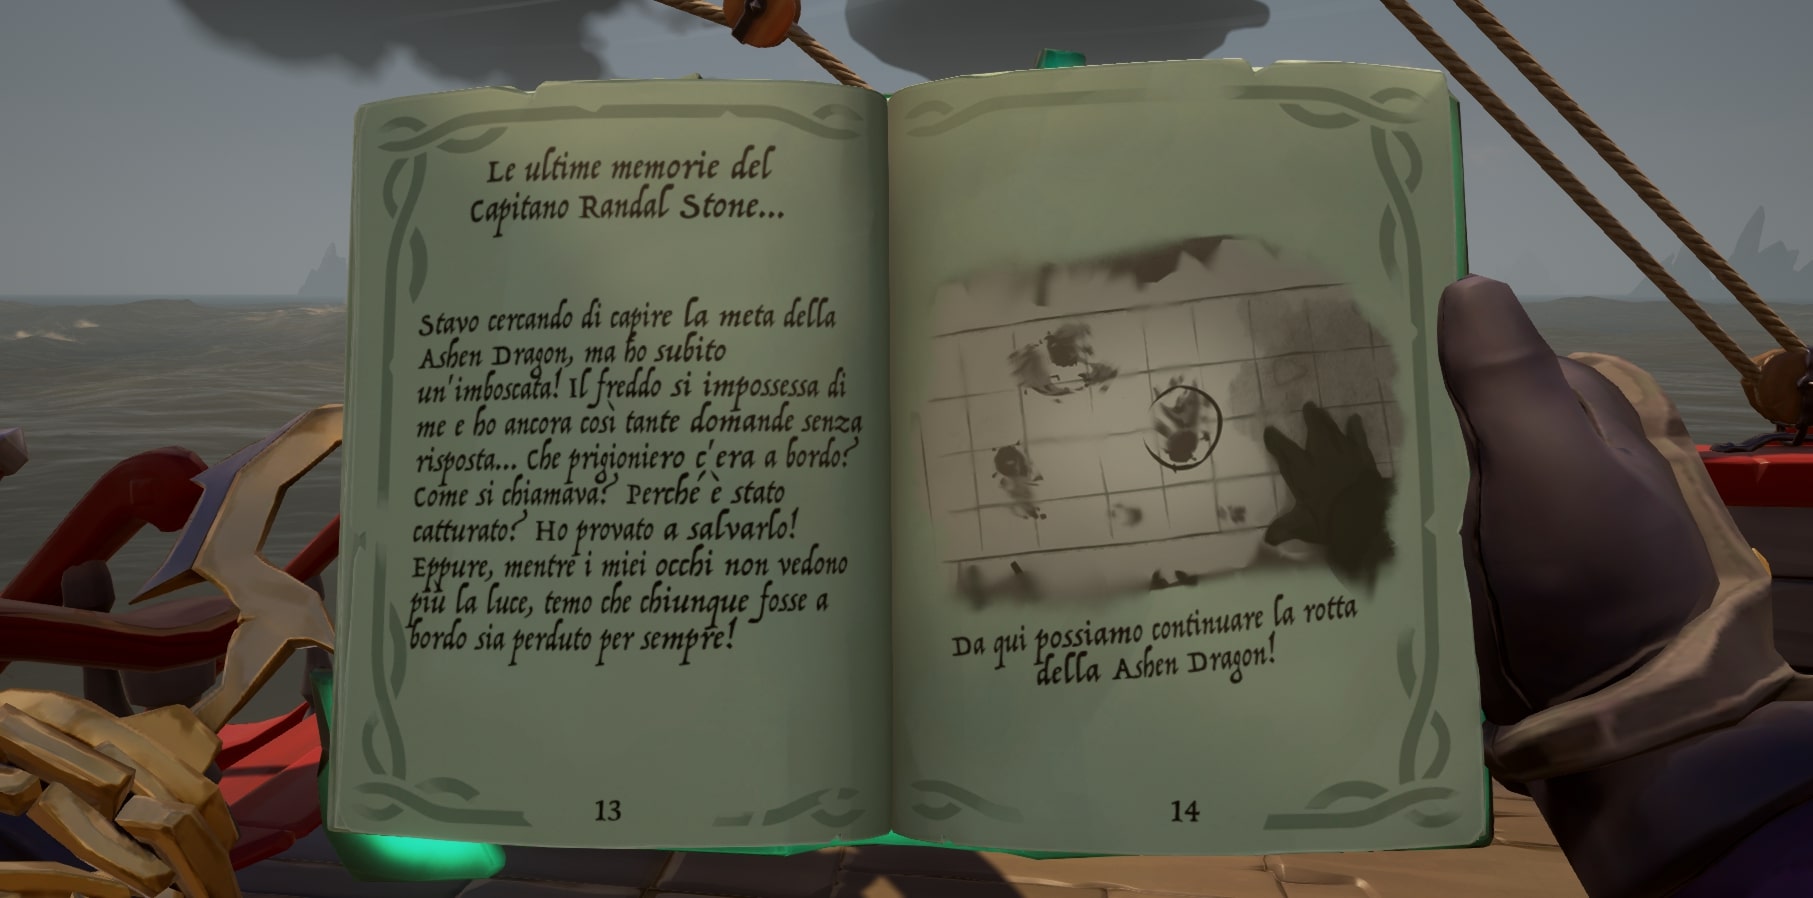
Ruby’s Fall Island
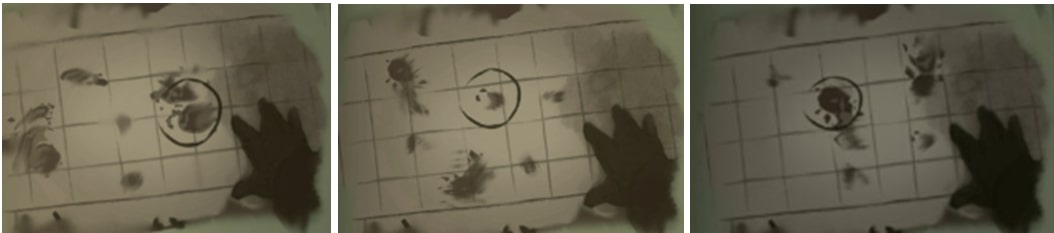
In order, the other options are: Molten Sands Fortress, Brimstone Rock or the outpost Morrow’s Peak.
IT WON’T CHANGE ANYTHING, WE’LL ALL HAVE TO GO TO FLINTLOCK PENINSULA
For accuracy and continuity, we show that, having reached Ruby’s Fall, we must head WEST.
Once again, we should follow the ghost galleon that will take us to Flintlock Peninsula.
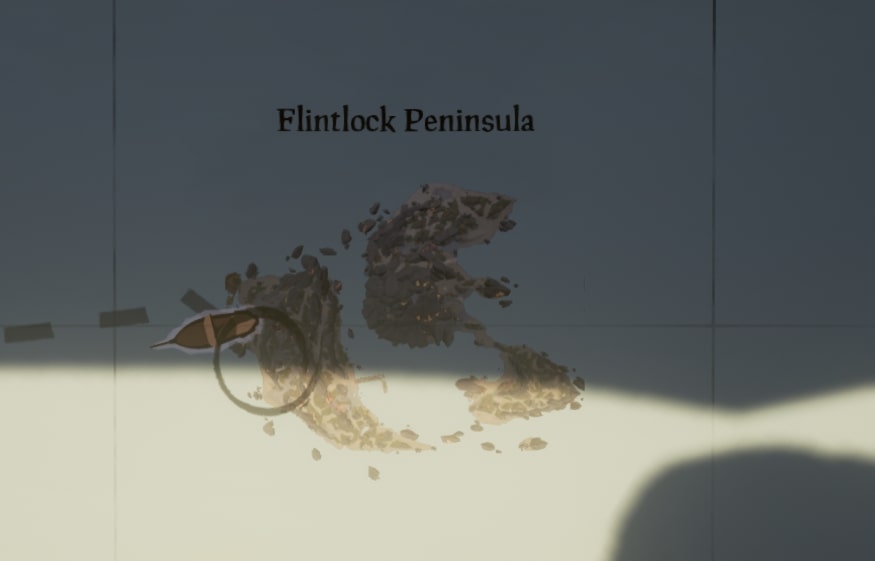
Exact spot on the island where to drop the anchor.
From here, take your beloved enchanted lantern and follow the events that begin from the beach next to the galleon “fantasma”.
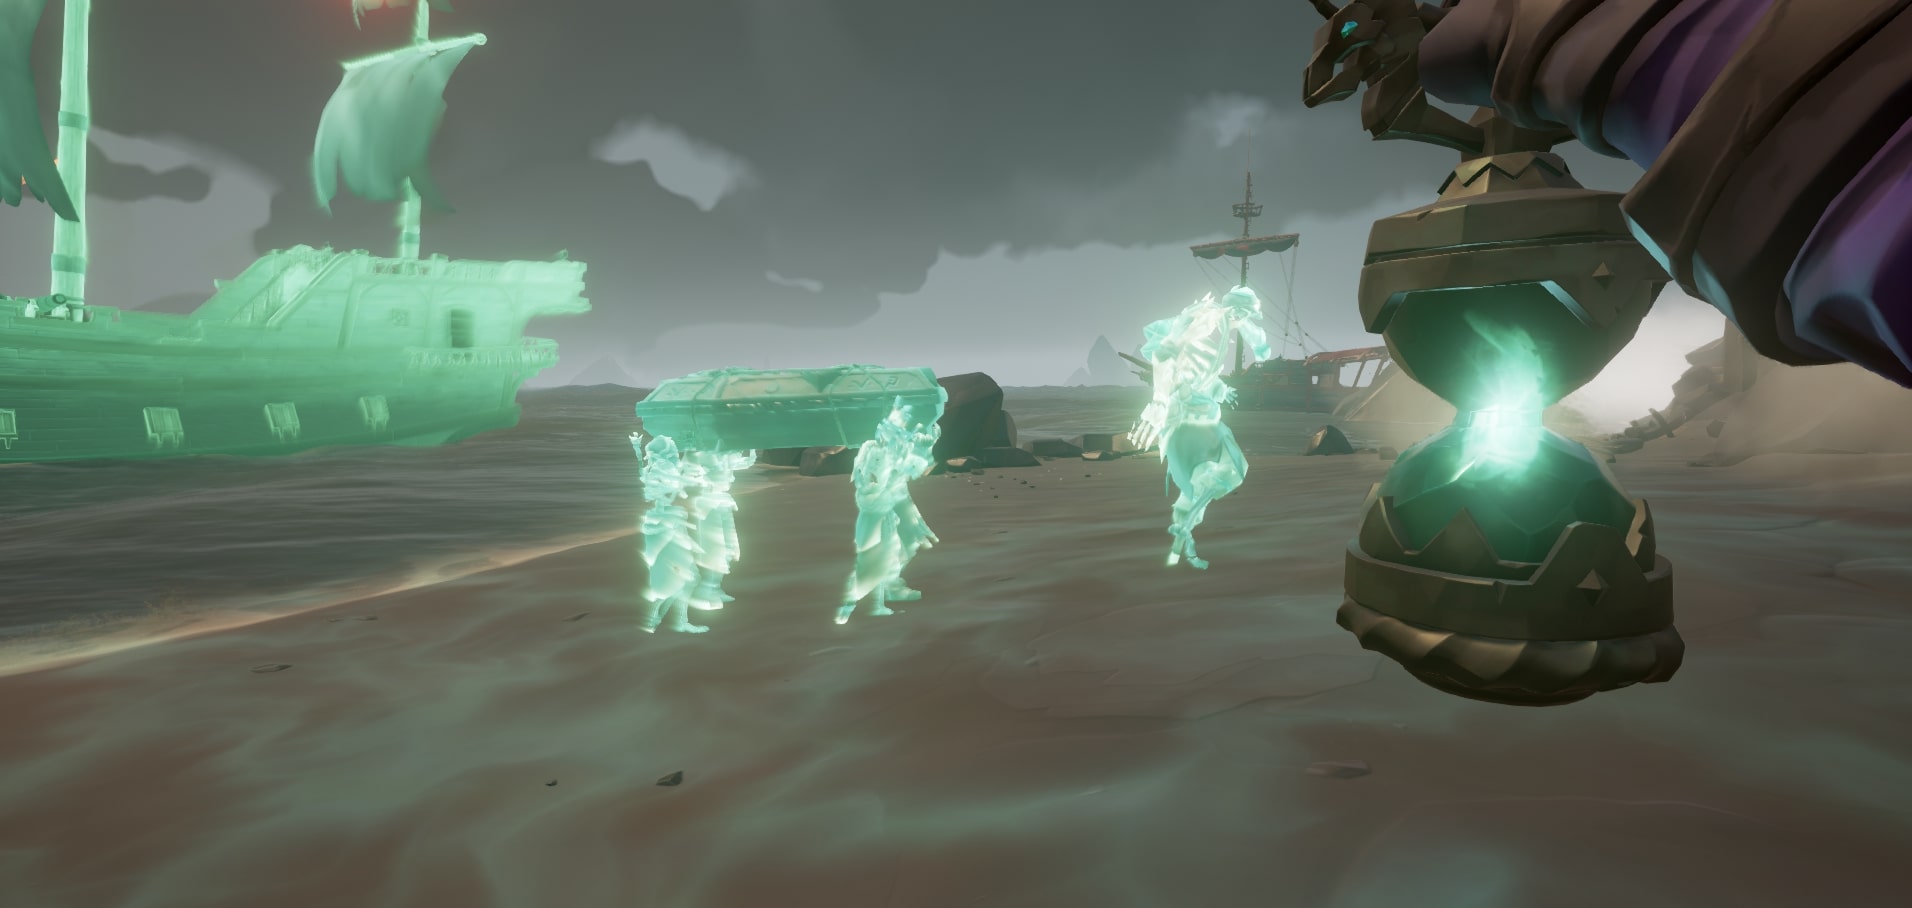
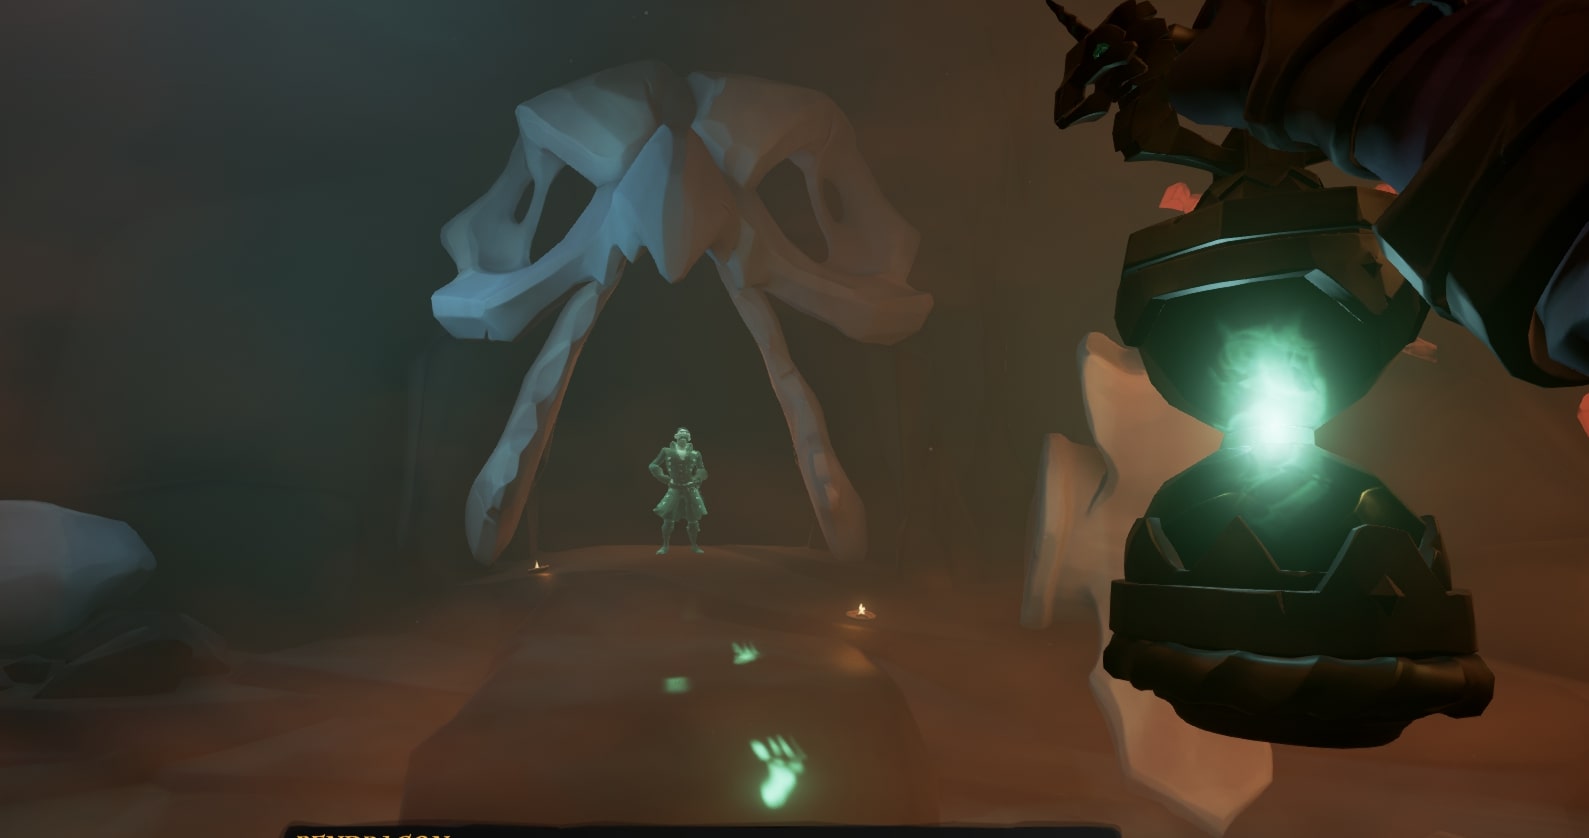
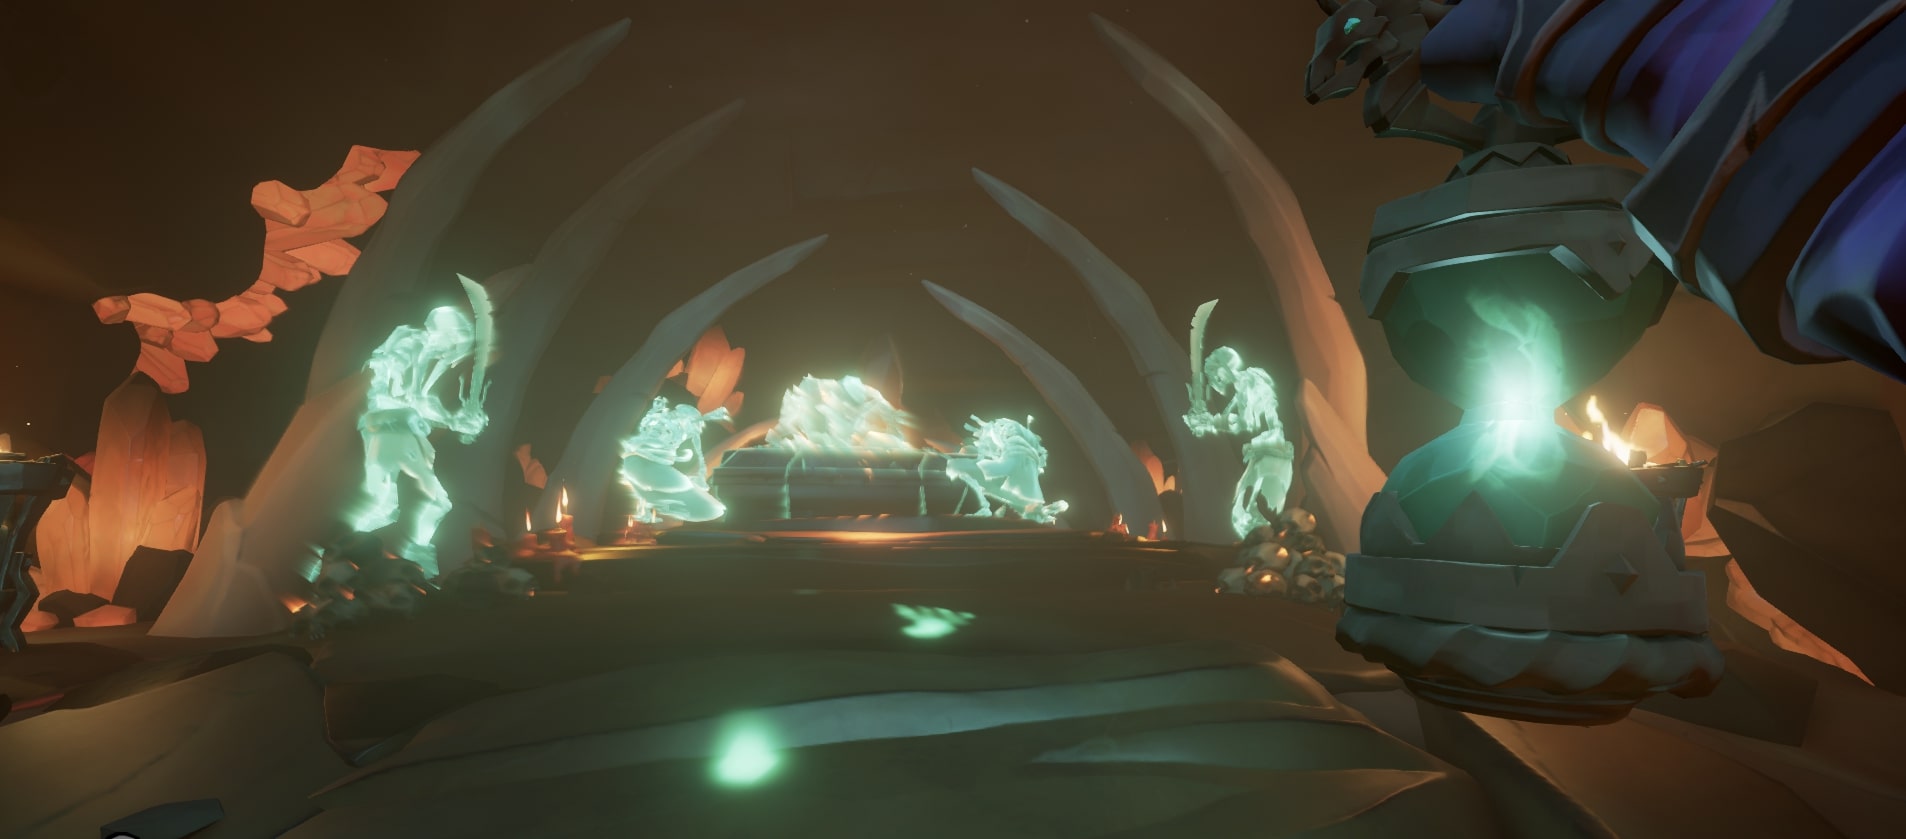
Approaching the sarcophagus/coffin, you must open it and retrieve the ancient skull.
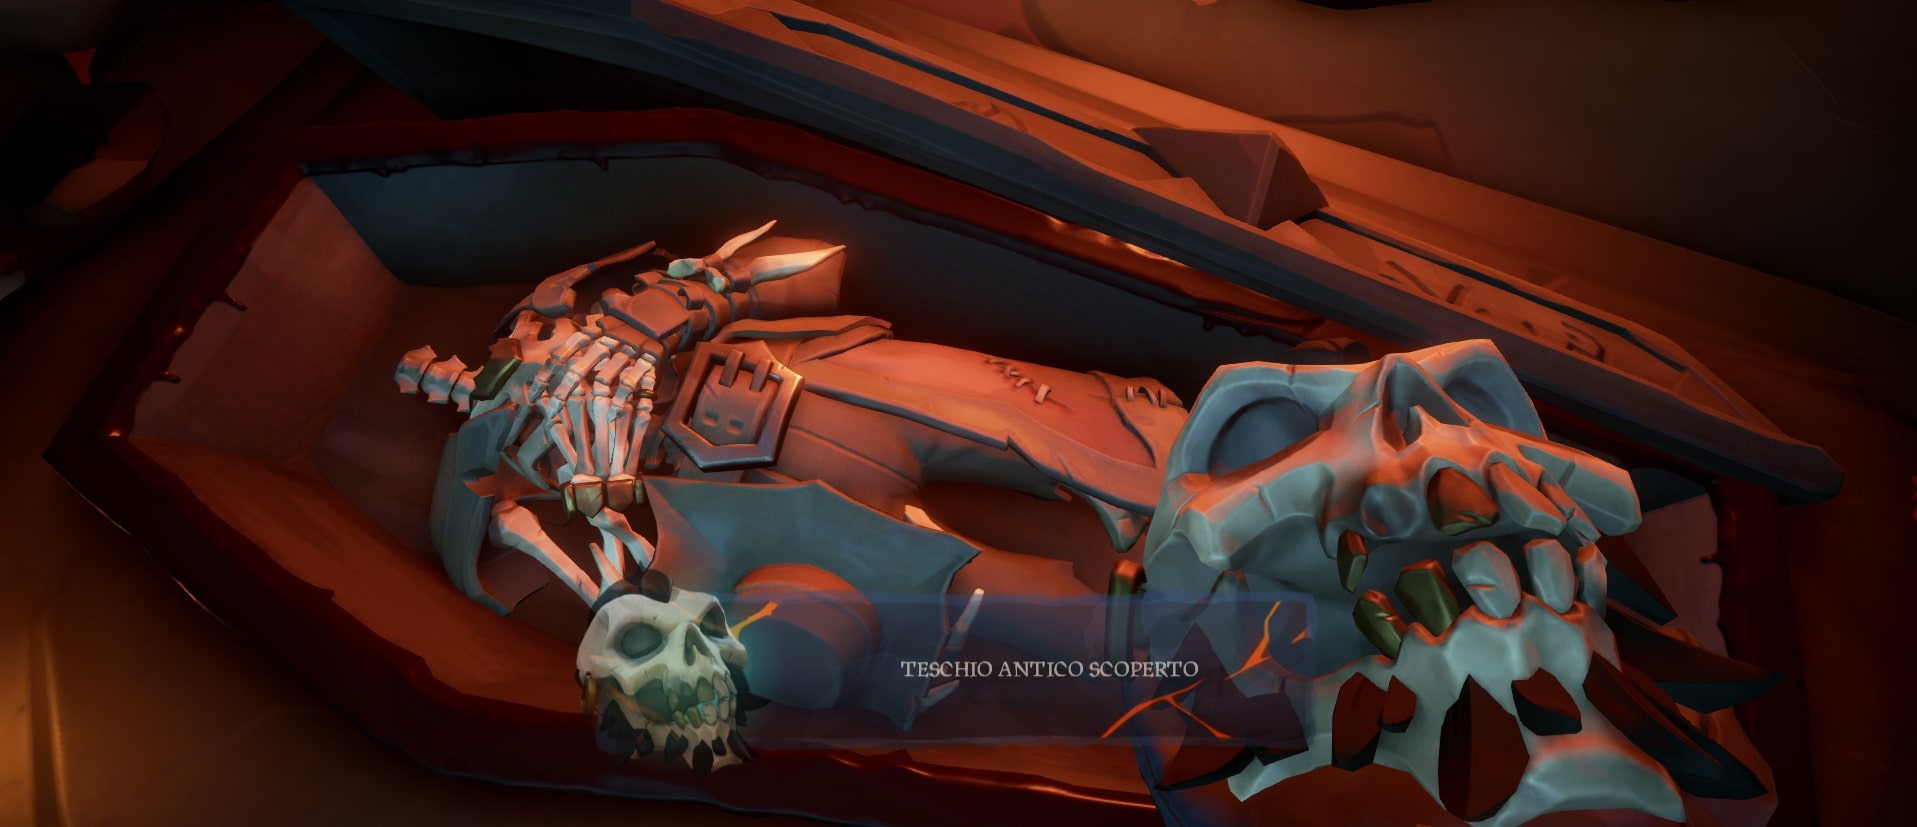
Now pay attention!! As soon as you try to exit the cave, a group of skeletons led by Captain Adara will attempt to kill you.
Stay at the cave entrance and kill them all, then give the ancient skull to Arthur Pendragon.

You’ve thus completed the mission! But tell me, how scary is the final dialogue??
The hype has risen even further to the thousand

As a side mission, you must find the five diaries to unlock this Tall Tales at 100%. I’ll list them in order of where you can find them:
- Shipwreck Bay, find it inside the captain's cabin
- Shiver Retreat, find some barrels near some giant rocks on the north side of the island, and directly above these barrels you'll find the diary.
- Liar's Backbone, you'll find a tree without leaves high up on the west hill. Look at the base of the tree.
- Scorched Pass: head to the south-eastern part of the island. In an area with grass and trees, you’ll find a journal resting on a rock.
- Flintlock Peninsula, look for it towards the north-east side of the island. For more detail, see the photo provided below
Finally, as a side mission, you will also have to search for the three ash artifacts. Here is where you can find them, in order:
- The first is at Tri-Rock Isle, spin the island while holding the enchanted lantern and proceed to dig exactly where you see the skeleton appear.
- Another is buried on Cinder Islet, spin the island while holding the enchanted lantern and dig at the exact spot where you see the skeleton appear.
- The latest update on Cursewater Shores, has you circle the island while holding the enchanted lantern and dig exactly where you see the skeleton appear.
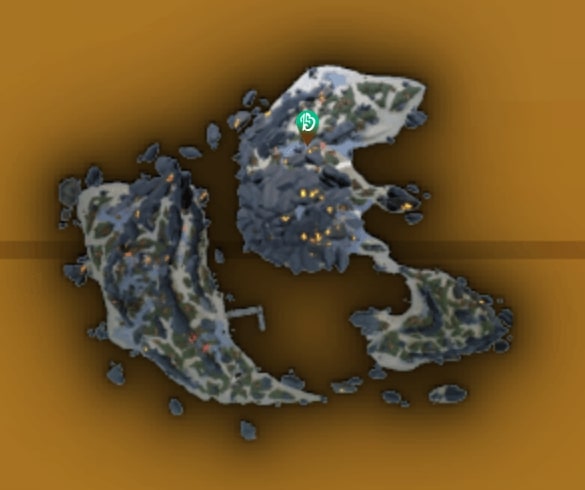
Given the low monetary value of these three artefacts, there's no rush to hand them over to the Gold Hunter at any outpost.
Overall, I saw them and they didn’t even yield 1000 coins.
About the Author